Leaf mold: what it is, and how to make your own
Don't discard fallen leaves. Instead, turn them into this useful DIY soil amendment or potting medium.

Leaf mold (leaf mould, outside North America) is simply the leaves of deciduous trees and shrubs broken down slowly, in cool-moist conditions, by fungal action. In deciduous woodlands it forms naturally as each year’s leaves fall, usually resulting in a wonderful humic, fibrous soil layer if you dig down.
Leaf mold is an excellent additive to plant beds and pots. It can be used as a potting medium, either on its own or in a mix by adding other elements like perlite, vermiculite, peat moss–based potting soil, sand, etc. Obviously it’s wonderful to make your own potting medium, from both a financial and a footprint-reduction and peatlands-conservation perspective. Plus, it’s great fun and not much work.
When collecting leaves, be mindful of the lepidoptera and other insects who overwinter in the soil and among the leaf litter. They need this resource, too!
I use leaf mold mainly to supplement other things I mix into my own potting mix. I follow Monty Don’s advice on that front: there is no single “best recipe” for potting soil – it’s a subjective art form, really, and it’s fun to work out your own preferred ratios in the mix. But last year I germinated the seedlings of a few native perennials in plug trays using only my leaf mold, and they seemed to do equally well to those in my blended mix, or in just ProMix.
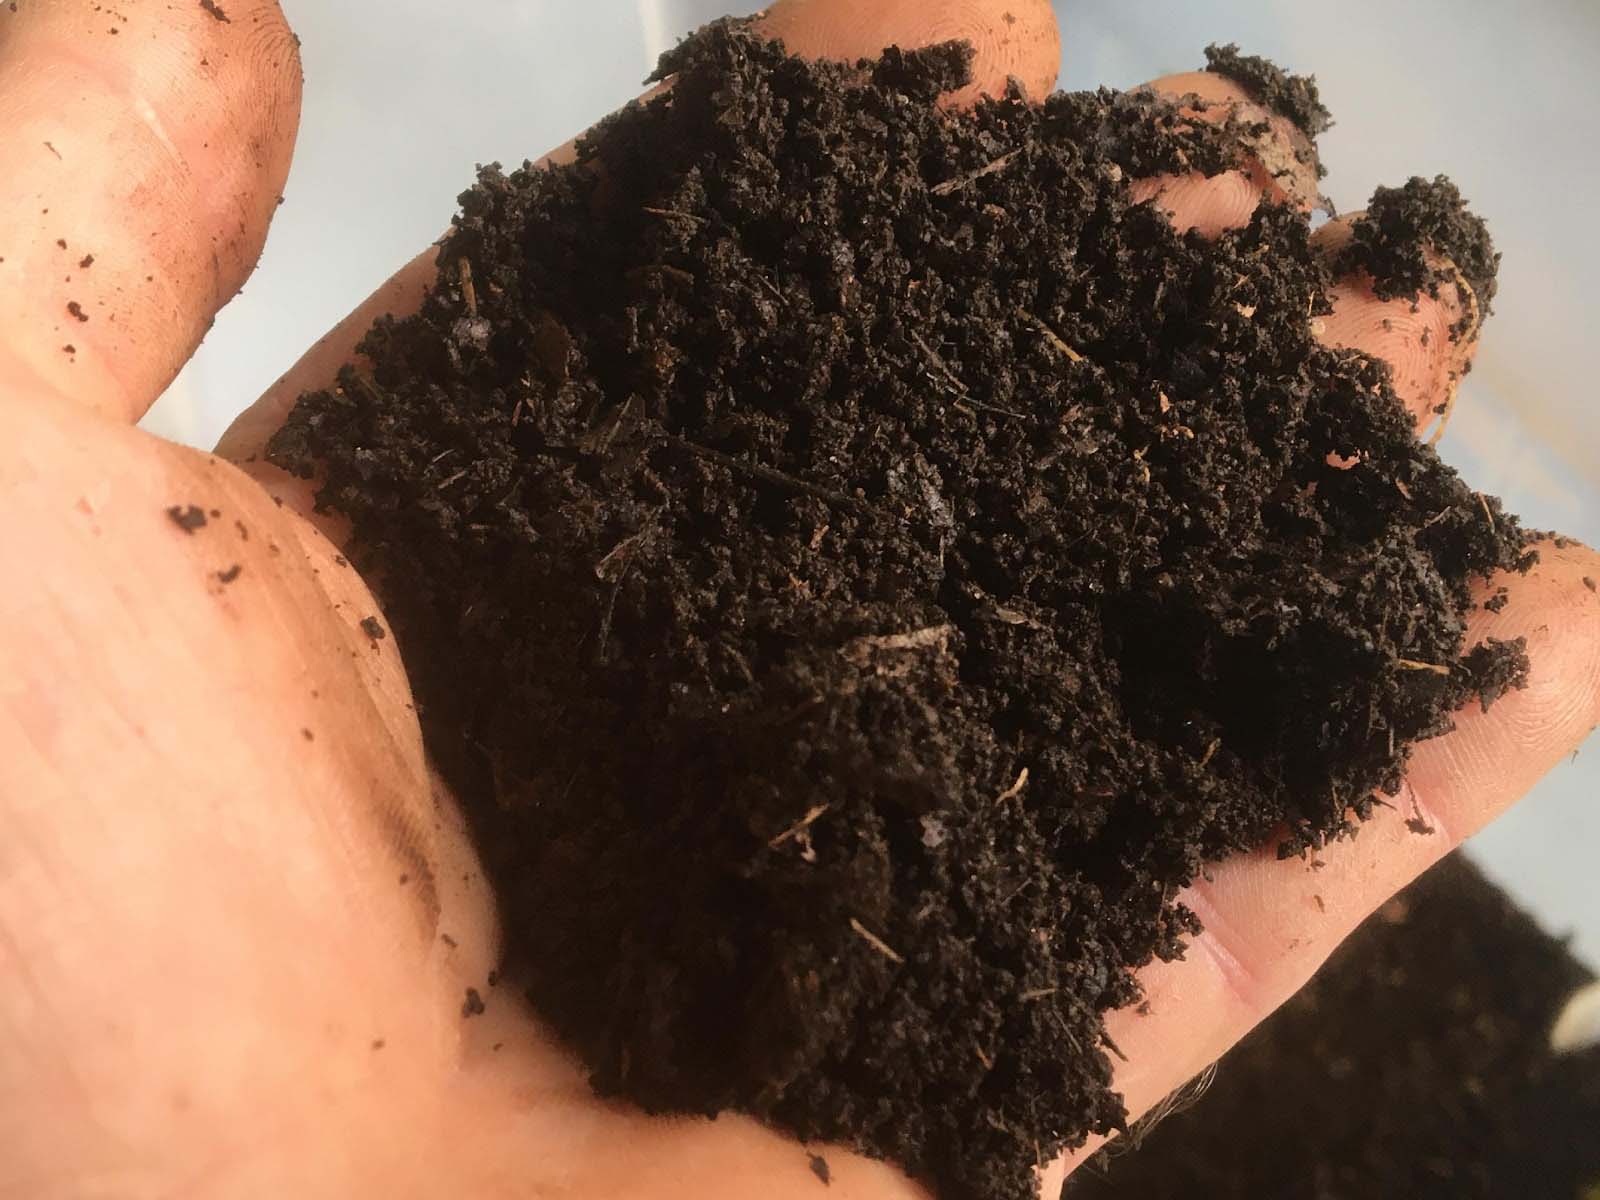
Here are six steps I go through to make my own leaf mold. The timing is aimed at Canada/North America, so you might need to adjust for other parts of the world.
1. “Harvest” deciduous leaves freshly fallen in September and October. (Avoid oaks and conifers.) “Leave the leaves” on soil and below trees for lepidoptera and insects who overwinter. Most of my raked-up leaves for making leaf mold come from the sidewalks and road (minus sticks and stones as much as possible). By doing this, you avoid removing invertebrates who might be thinking about wintering already. The leaves on the sidewalk and roadside have likely only just fallen, and would otherwise end up in municipal street cleaning machines and our waterways.
2. Shred the dry leaves if you can. I use a WORX shredder, but you can do this with a rotary mower on a lawn. This accelerates the leaf breakdown, but don’t worry if you can’t shred them – they’ll still end up as leaf mold eventually. Roughly speaking, I find that three regular garbage bags’ worth of shredded leaves produce one bucket of leaf mold.
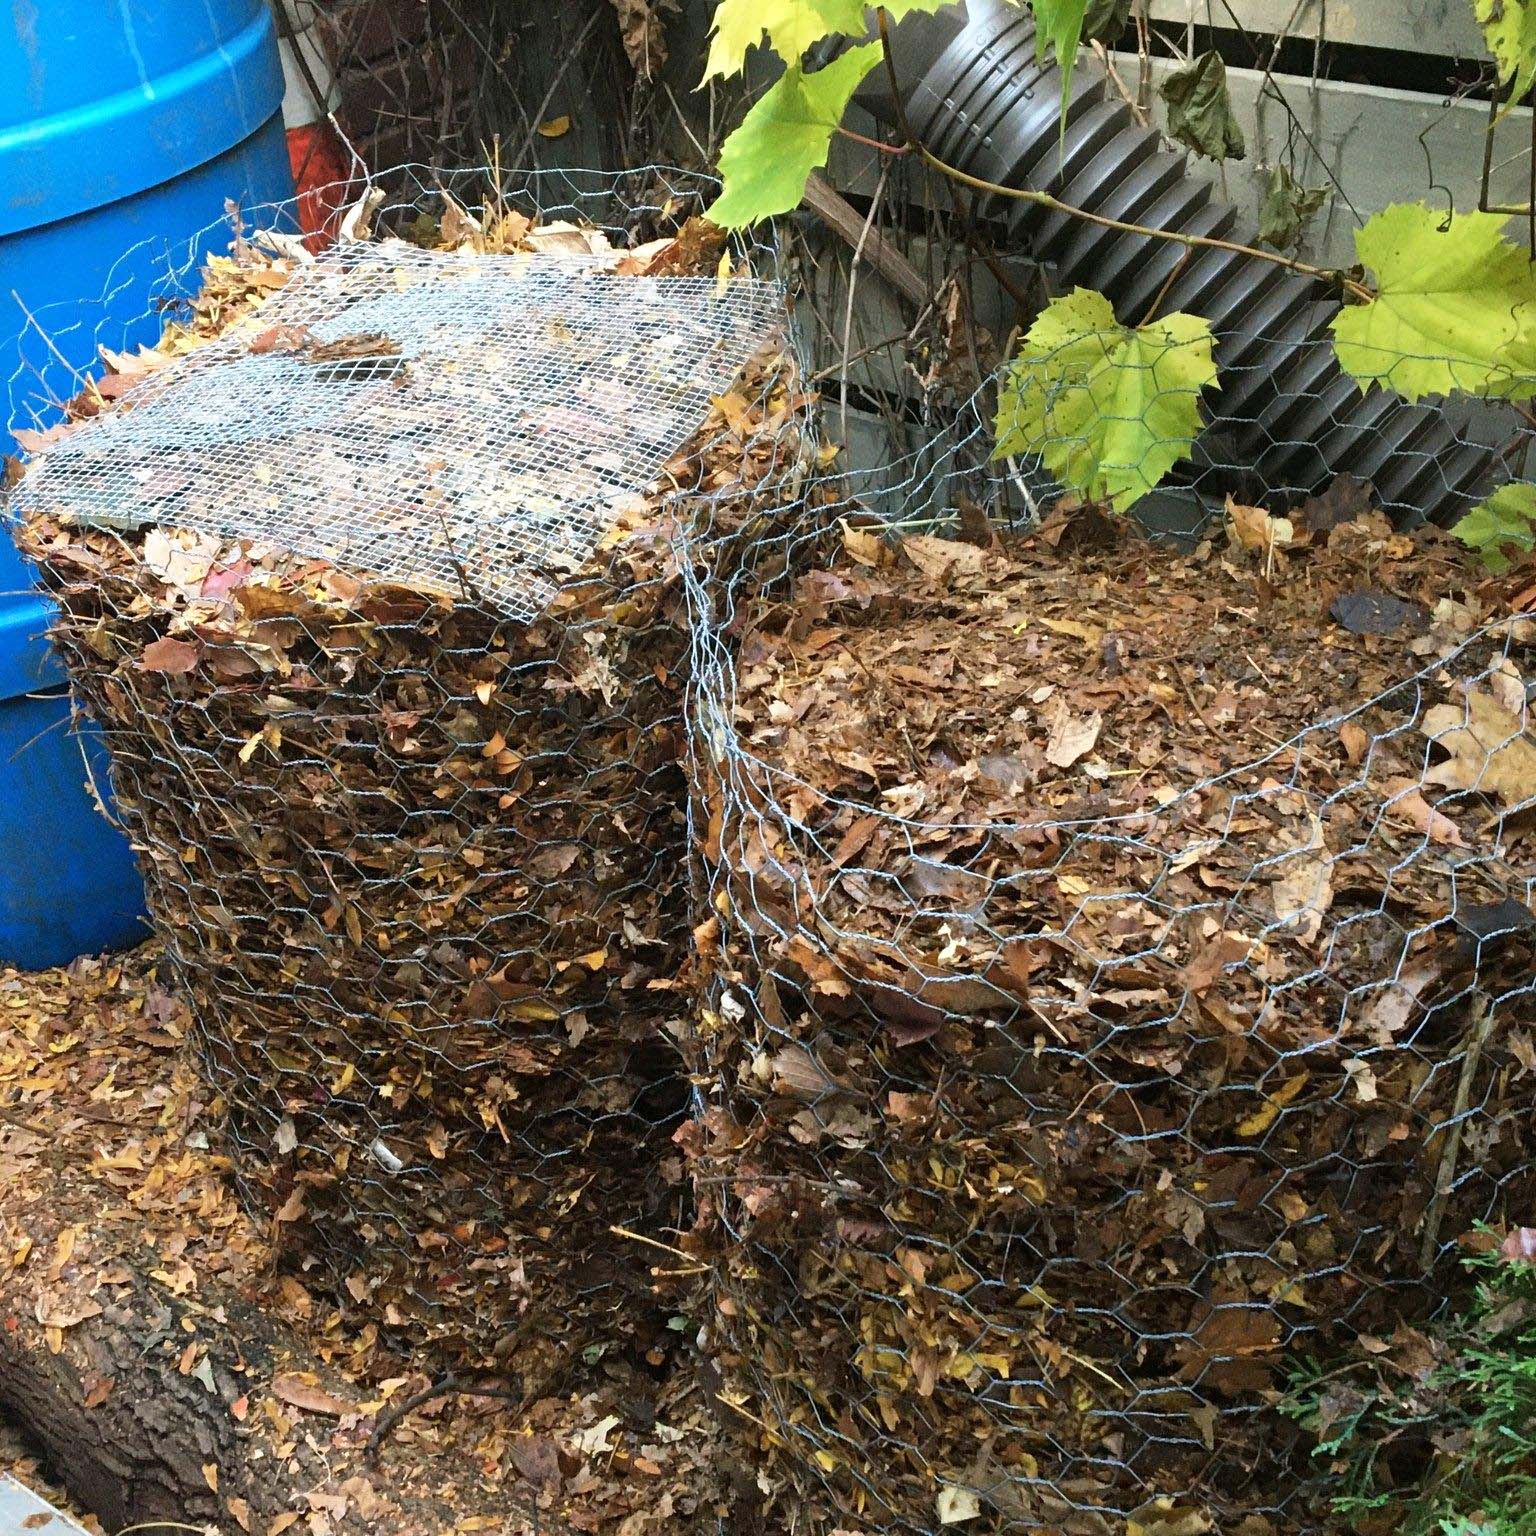
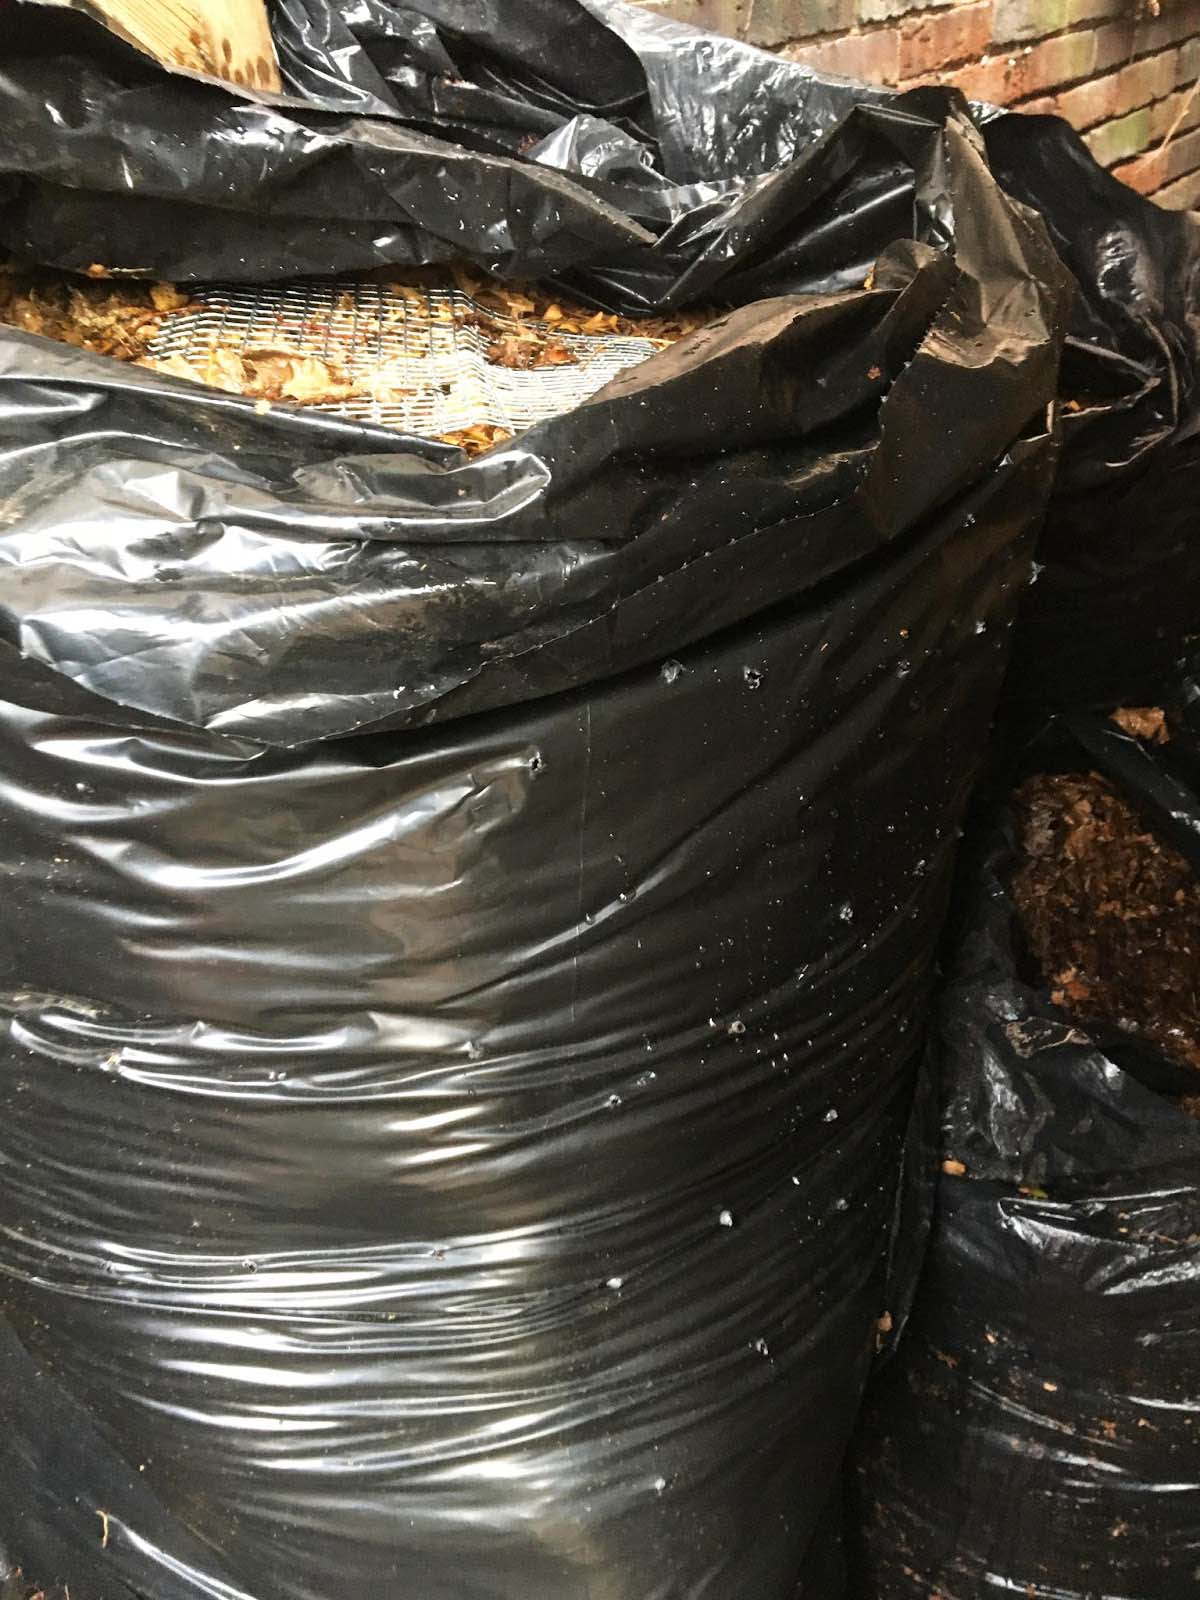
3. Set up your leaf mold creation station. My preferred “containers” are mesh baskets made from chicken wire or fencing wire, either by themselves in a cylindrical shape, or in square wooden frames. Don’t make them taller than three to four feet, or about a metre. Nothing fancy. Old milk crates can work too, if they’re kept moist. This also works with contractor-sized black plastic bags with a few hundred holes poked in once they’re full – great fun with a jabbing fork! The most important thing is that they have aeration.
4. Put the containers in a cool, damp and moist place with no direct sunlight. Choose somewhere where they won’t be in the way, like at the side or rear of your garden. Add shredded leaves in layers into your container, and add water to moisten after building up each layer. Leave for about 10 months. If in summer they seem to be drying out, occasionally add a good dose of water.
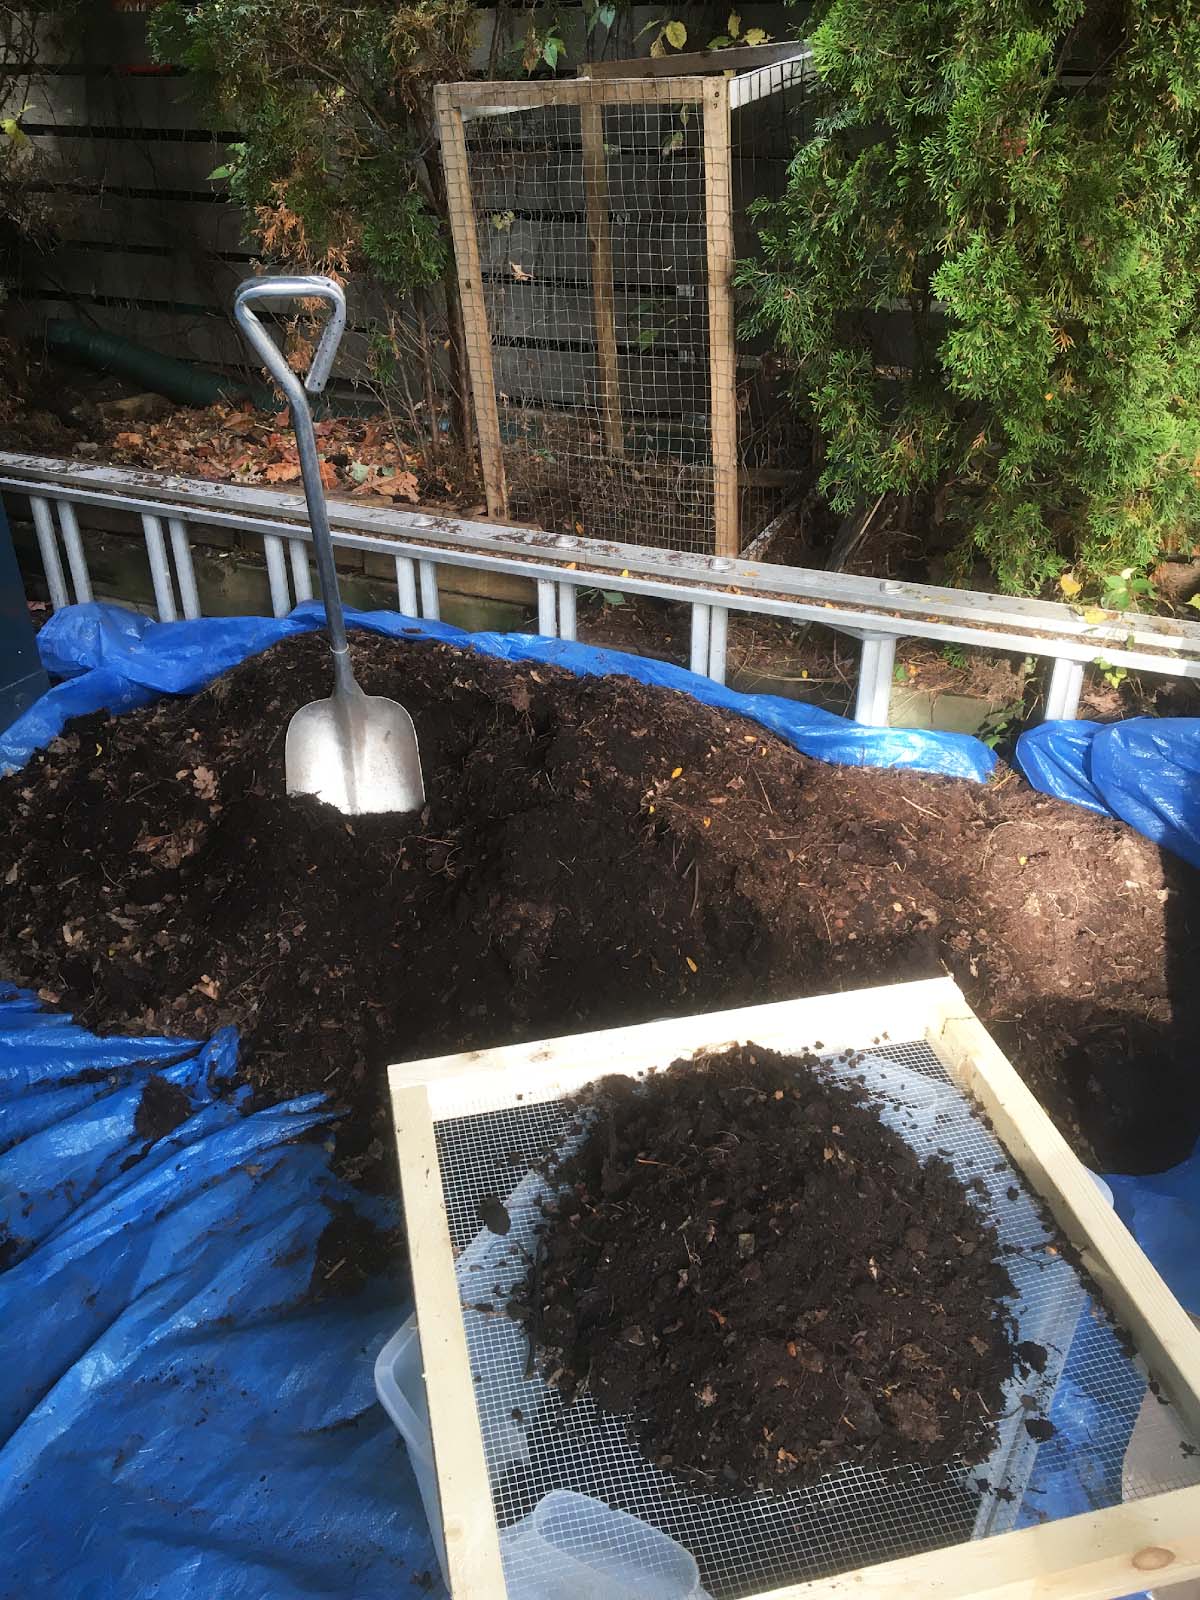
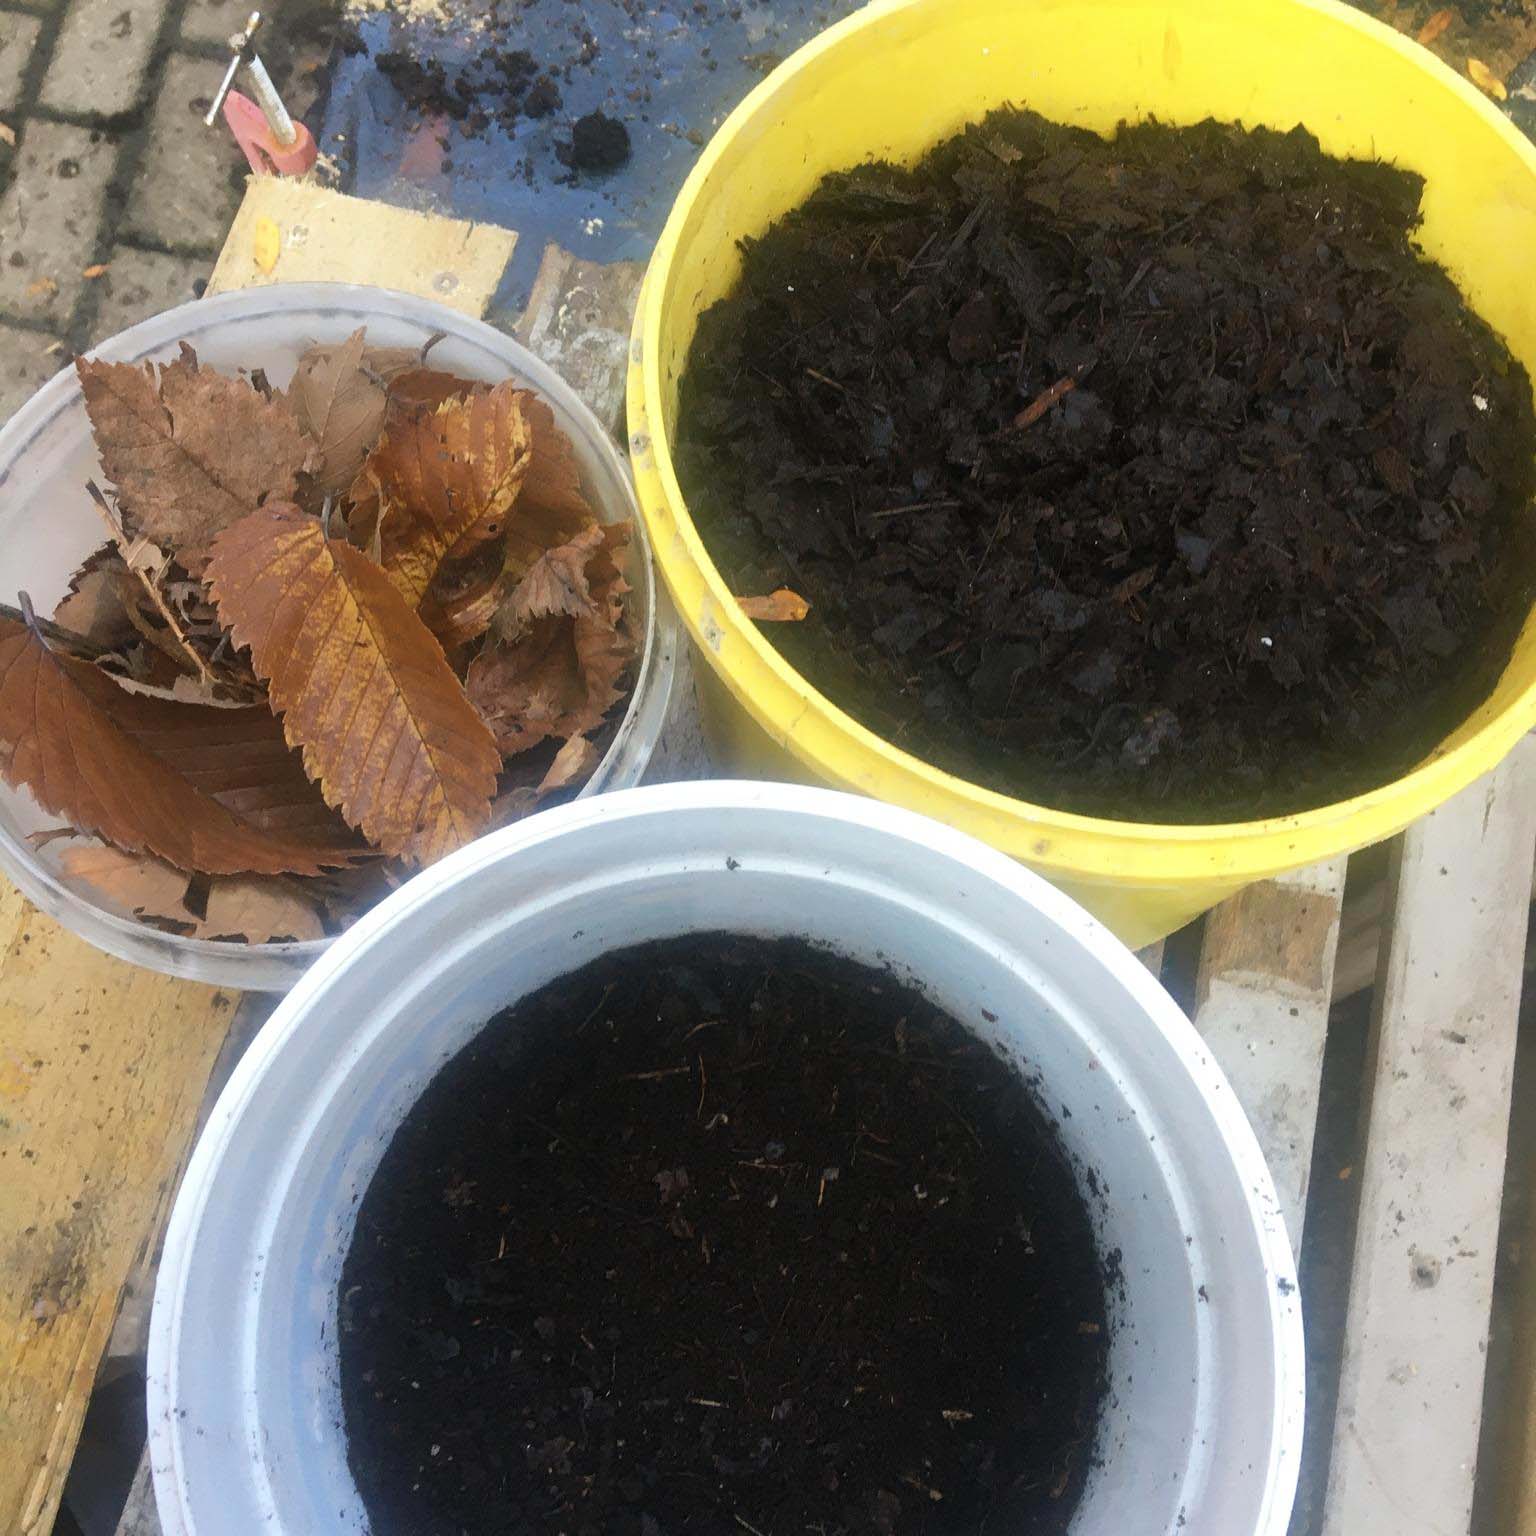
5. In late August to September, inspect your containers. If the leaf mold looks done, empty the containers, then sift your mixture... and hey presto, you have “gardeners’ gold” – your own leaf mold.
6. I then store my sifted leaf mold in old plastic bins, ready for the next spring- summer potting season. I often put some on the veggie bed in early fall, too.

Thanks to Pete Ewins and Project Swallowtail for giving us permission to republish these tips.







Comments ()