So you're ready to start rewilding your yard. But how do you get rid of the grass? Here are three top options.
Maybe you want to remove your lawn because you’re excited about providing a healthy habitat for pollinators. Or perhaps you’re just tired of maintaining it (and ready for a low-maintenance native plant garden instead). Either way, there are plenty of ways to do it.
Just don’t do what I did. Impatient to get started, I skipped the research, grabbed my shovel, tilled a corner of my yard and added some triple mix and plants to see what would grow. (Spoiler alert: a very weedy and only partially successful native garden.)
Benjamin Vogt, author of A New Garden Ethic and owner of Nebraska-based Monarch Gardens, a prairie-inspired garden design firm, agrees that tilling is the worst way to remove lawn. “I've had really bad experiences with infill soil and tilling,” he says. “Tons of weeds that are overwhelming and kill desirable plants.”

As for which section of lawn to remove, Vogt says most of his clients want to replace problem areas they are tired of fighting: overly shady spaces, places prone to erosion, spots in full sun that fry in midsummer regardless of watering. But if you don’t have any trouble areas and want to start small, he suggests starting by deepening your foundation beds to 10 feet, or creating a border around the property line that's 10 feet deep and slowly chipping away at the lawn.
Native plant expert and gardener Laura Tipton (check out more of her tips in 6 steps to rewilding at home) started with small patches of her yard, adding more and more garden beds. “I was thrilled with the increase in biodiversity, the reduction of mowing, and the sensory pleasure of native plants,” she says. “Over time, I realized I wanted to remove my languishing front lawn completely.”
But how exactly do you go about removing your lawn? It all depends on your level of patience and comfort with the various methods. A quick Google search of lawn removal methods usually leads straight to glyphosate, a widely used herbicide that kills certain weeds and grasses. “A lot of people are averse to using this method,” says Vogt. “But over a large space it's both practical and economical – without harming soil life if applied correctly.”
Unfortunately, several studies have linked glyphosate to cancer, and recently, it’s been shown to damage wild bumblebee colonies. Oncologist Dr. Mateya Trinkaus encourages her patients, and also pregnant women and children, to avoid exposure to pesticides. “The world is seeing a shift in more cancer cases, particularly developing in younger persons,” she says. “Current literature supports a strong association of cancer risk and environmental exposures including commercial and residential pesticide use.”
So, you might not want to choose tilling or herbicides, but luckily, there are plenty of other lawn removal methods to try, and depending on your needs you’re sure to find one you love.

1. Kill off your lawn by sheet mulching with cardboard and mulch
Timeline: Two to three months
How to do it: Tipton has tried many lawn removal methods, and this is her favourite. “The cardboard method I used consisted of removing all plastic and tape from the cardboard, laying it down on turf so there were no gaps, and then putting several inches of mulch on top,” she says. “After a few months, I planted right through the cardboard, though it had mostly decomposed.”
Before laying the cardboard down, she mowed the lawn as short as possible and tried to remove deep-rooted weeds like dandelions.
The pros: One major benefit of this method is that it’s cheap. “I got most of my cardboard free from local shops (bicycle boxes are amazing!) and contacted an arborist who dropped off two truckloads of rough mulch at no cost,” says Tipton. The best part? It worked, and the mulch and cardboard combo even helped improve her compacted soil.
The cons: Whichever method you choose, it’s going to require physical labour, but this one might just be the hardest. “It was quite labour intensive to obtain enough cardboard, remove plastics from it, and then shovel the mulch on top,” says Tipton. And, there was some patience required. Not only did Tipton have to wait until a whole truckload of mulch was available, she then had to wait for the soil to be ready for planting.
Though it worked for Tipton, Vogt suggests using this method only for small areas. “There are some studies that show sheet mulching reduces water and air transfer to the soil,” he says. “It's also totally impractical for much over 100 square feet.” He points out that in some cases, cardboard has toxic chemicals in it, too.
2. Remove lawn with a motorized sod cutter
Timeline: One day, depending on your square footage
How to do it: You can reserve a motorized sod cutter at a home and garden centre for approximately $100 a day or $500 per week, depending on your location. A sod cutter is a bit like a very heavy-duty lawn mower that cuts grass off at the roots, exposing the ready-to-plant soil beneath.
The pros: It's a fast and effective method that makes sense for the average suburban lawn – though maybe not a huge farmhouse lawn.
The cons: The sod cutter rental cost can add up, depending on how long it takes you, and the tool can be difficult to maneuver. This method also leaves behind a lot of sod (which can be costly to dispose of).
3. Dig out the offending area
Timeline: Right away
How to do it: Grab a shovel. Choose a small section that’s been bugging you and, being careful not to dig too deep, carve out the offending sod.
The pros: Fast and good for impatient people (like me!). This has been my personal favourite method so far, and it’s one I’ve used several times out of pure convenience – but I have only ever done one small space at a time.
The cons: Lots of physical labour and tons of sod/soil to dispose of. It’s not realistic for larger spaces and may remove beneficial soil. It may also be tempting to amend the soil after digging, because digging is more likely to leave a big or awkward hole than other methods. But Vogt cautions against this.
“Never amend,” he says. “Always match plants to the site conditions.” In short, it’s a waste of time and money because native plants shouldn't need extra help, as they are adapted to the conditions of the area. “Don't work harder than you have to,” he says. “Spend more time researching the best plants to use than altering a site.”
Whatever method you choose, feel confident that your native garden will provide joy (and so will retiring your mower)
For Vogt, lawn removal is a means to an end – and planning the perfect garden isn’t the point. He might have a preference for how to remove lawns, but if the end result is a thriving native plant garden, he sees any removal method as a success.
“A garden is never a failure,” says Vogt. “Let yourself learn from the plants over the years. They are the best teachers and demand patience, compassion and, most importantly, a sense of spontaneous joy or serendipity at what thrives, what doesn't, and what pops up anew in places the plant really wants to be.”
In the end, it’s not your shovel, sod cutter or mulch and cardboard that will steal the show. It’s the plants and creatures that will happily find their home in the welcoming space you create.
“My best gardens are those where I let the plants find their way, even if that means the original design or intention was lost,” says Vogt. “Often, the garden is better for it.”
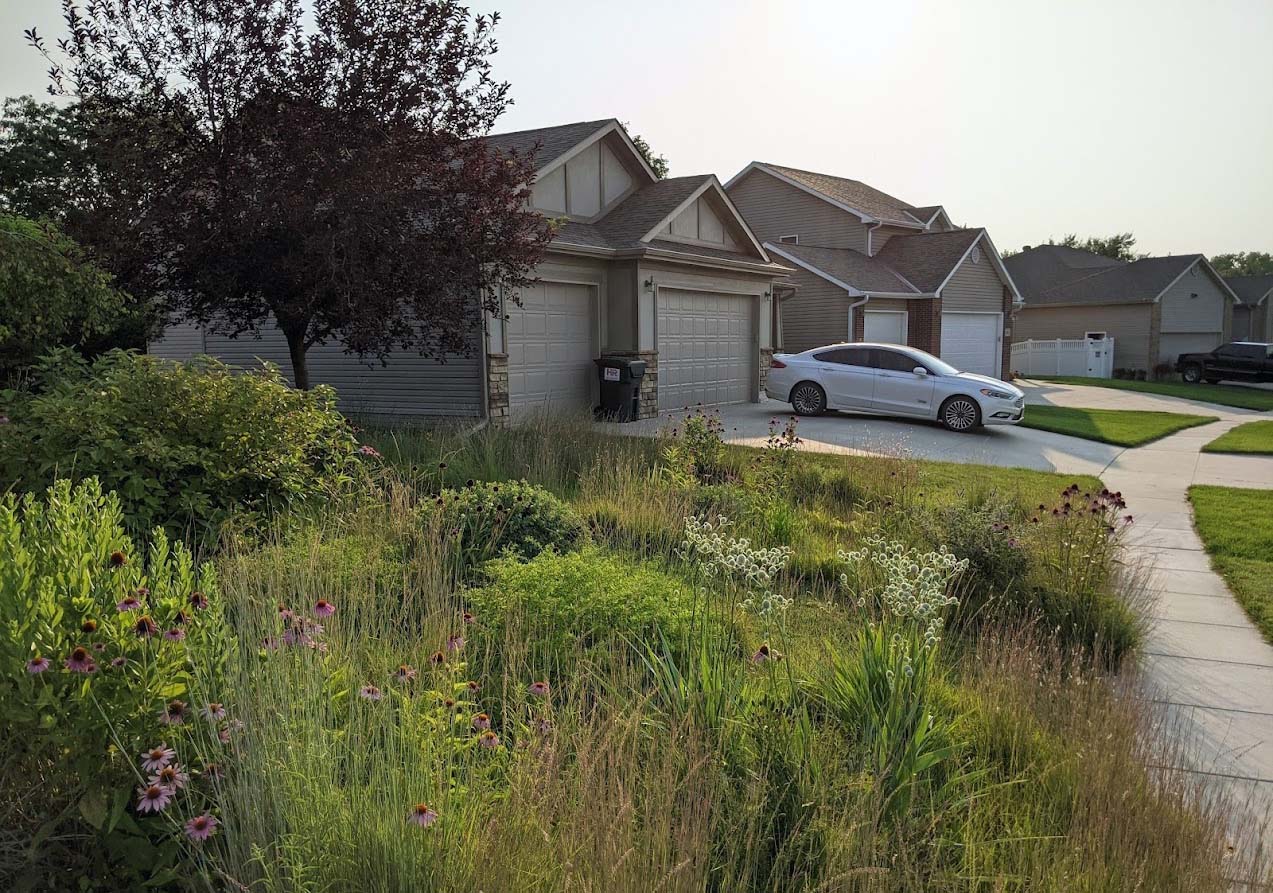
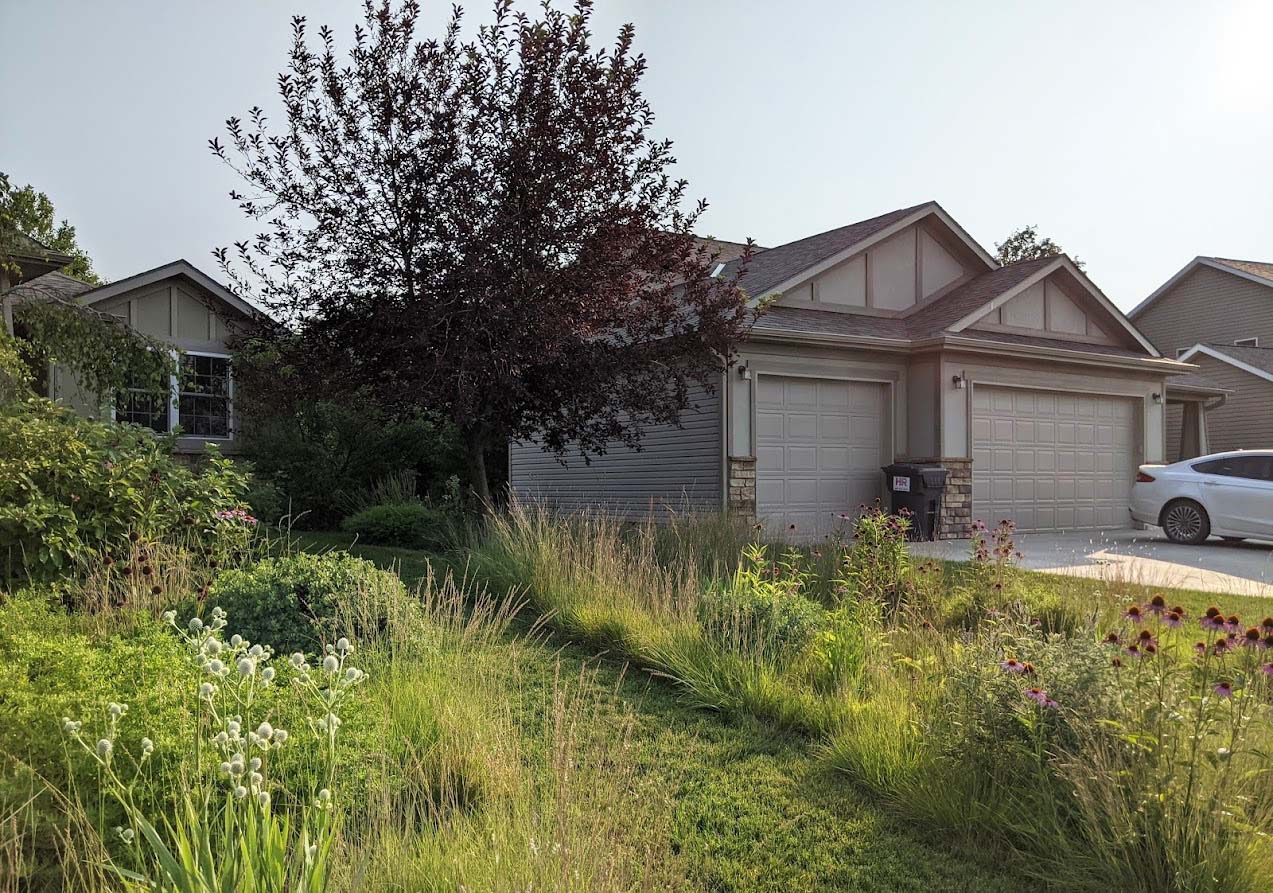
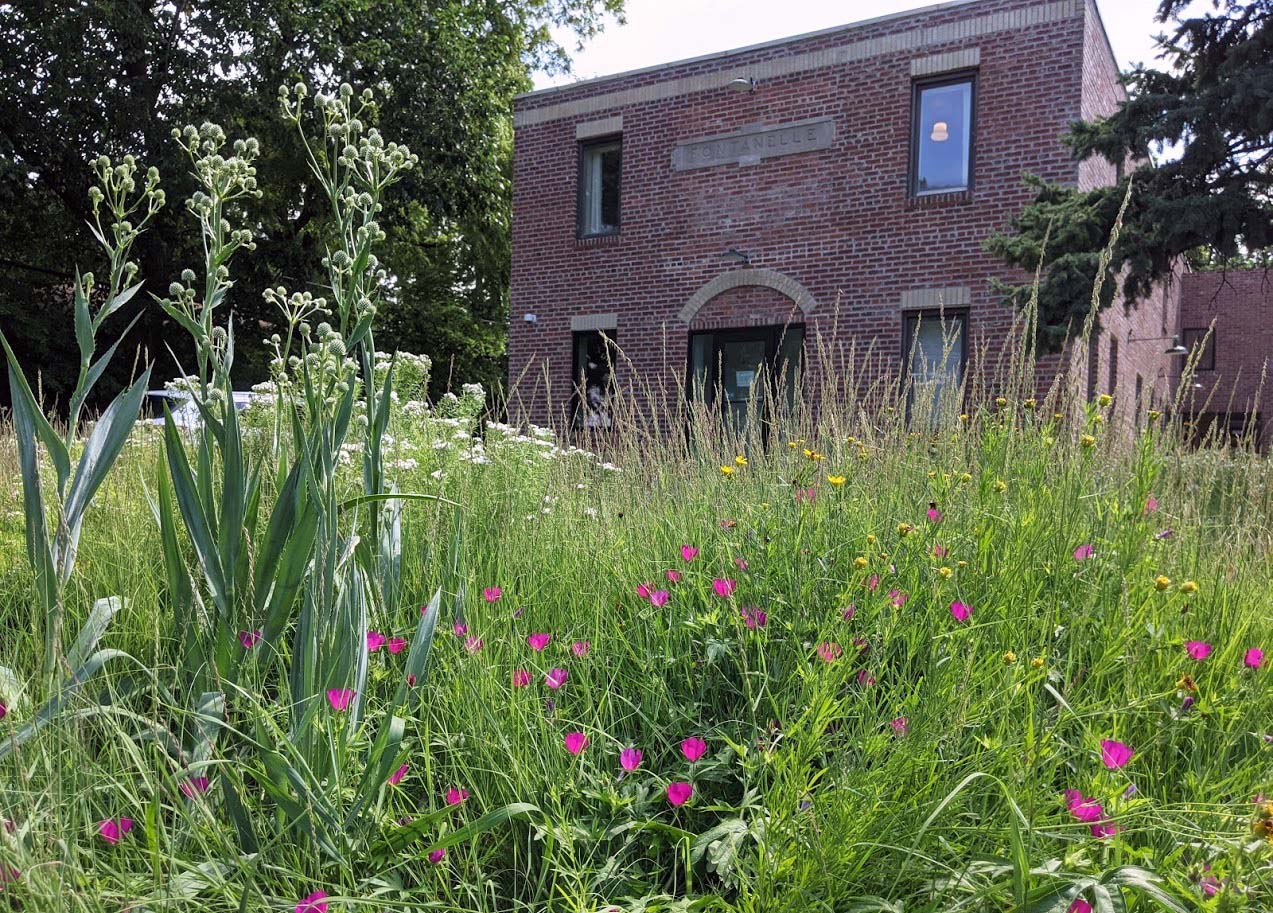
Main image: A meadow at Bellevue University. Photo: Monarch Gardens.








Comments ()