The pros and cons of 5 lawn removal methods
Ready to rewild your yard? Review these strategies for some ways to turn your lawn into a biodiverse garden.
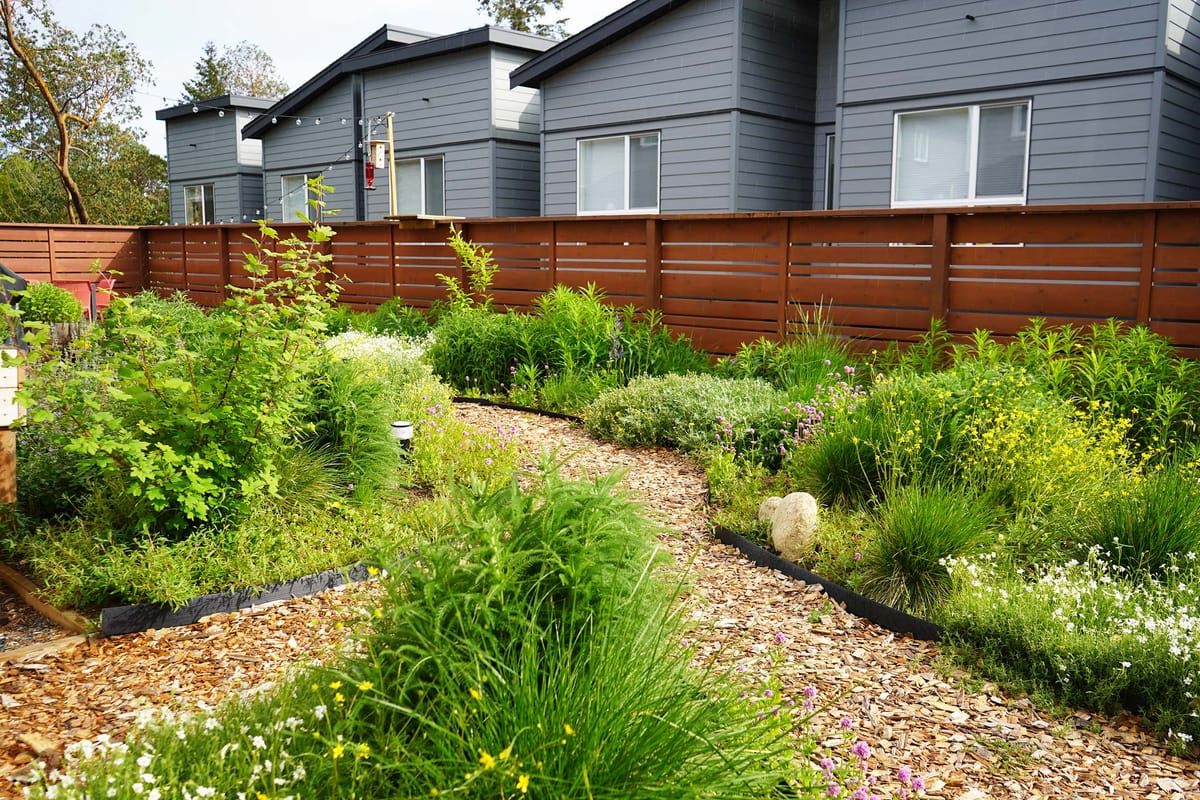
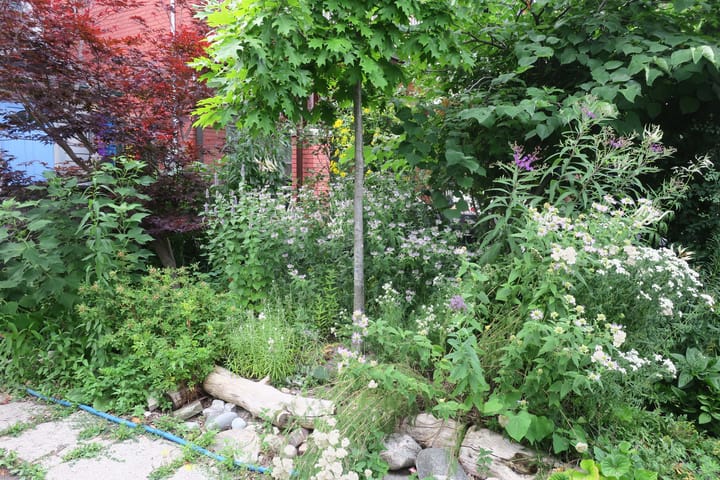
If you want to say goodbye to your days of pushing a lawnmower and shelling out to keep your grass green, there are lots of possibilities. You can sow a meadow of wildflowers, rewild the space with native plants or refashion your yard into a fruit and vegetable garden.
But before you can turn your dreams into action, you’ll need to remove your lawn grass. Here’s a rundown of five common DIY paths you can take, which you can also mix-and-match to suit different areas around your home.
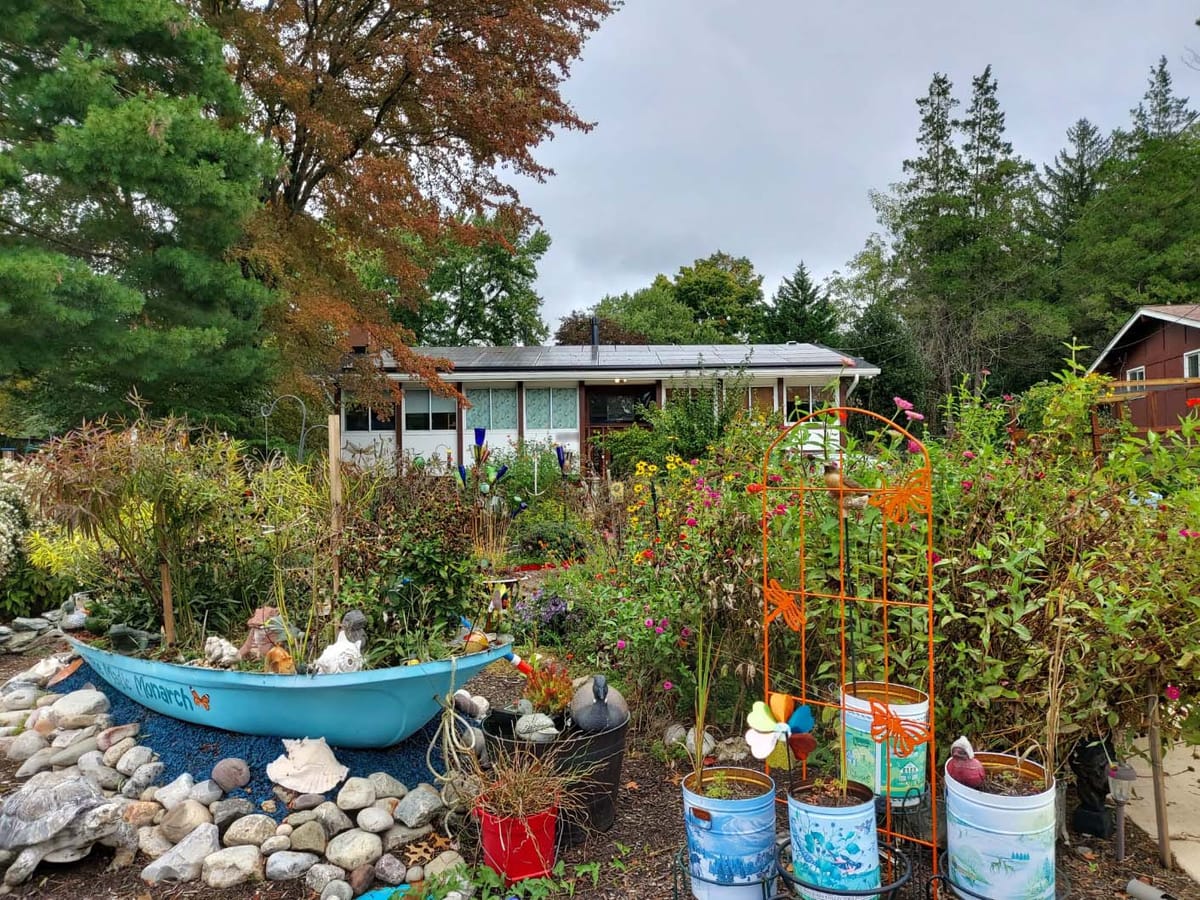
Sheet mulching
Sheet mulching your lawn is easy. First, you’ll need to cut the grass as short as possible, then lay down a layer or two of clean cardboard – that is, free of staples, plastic, tape and heavy or glossy print.
Make sure the area of lawn you want to remove is completely covered, with the cardboard overlapping enough that light can’t get through. The idea is that everything underneath the cardboard will be starved of light, and eventually the cardboard will break down too, so you won’t need to remove it.
Wet the cardboard thoroughly and then place six to eight inches of soil on top. Often, people turn to store-bought topsoil, but Paul Jenkins, who has run Ontario-based Wildflower Farm for almost 38 years, says a better option is to seek out compost from your municipality. It is far less likely to contain weed seeds and can be, well, dirt-cheap, if not completely free.
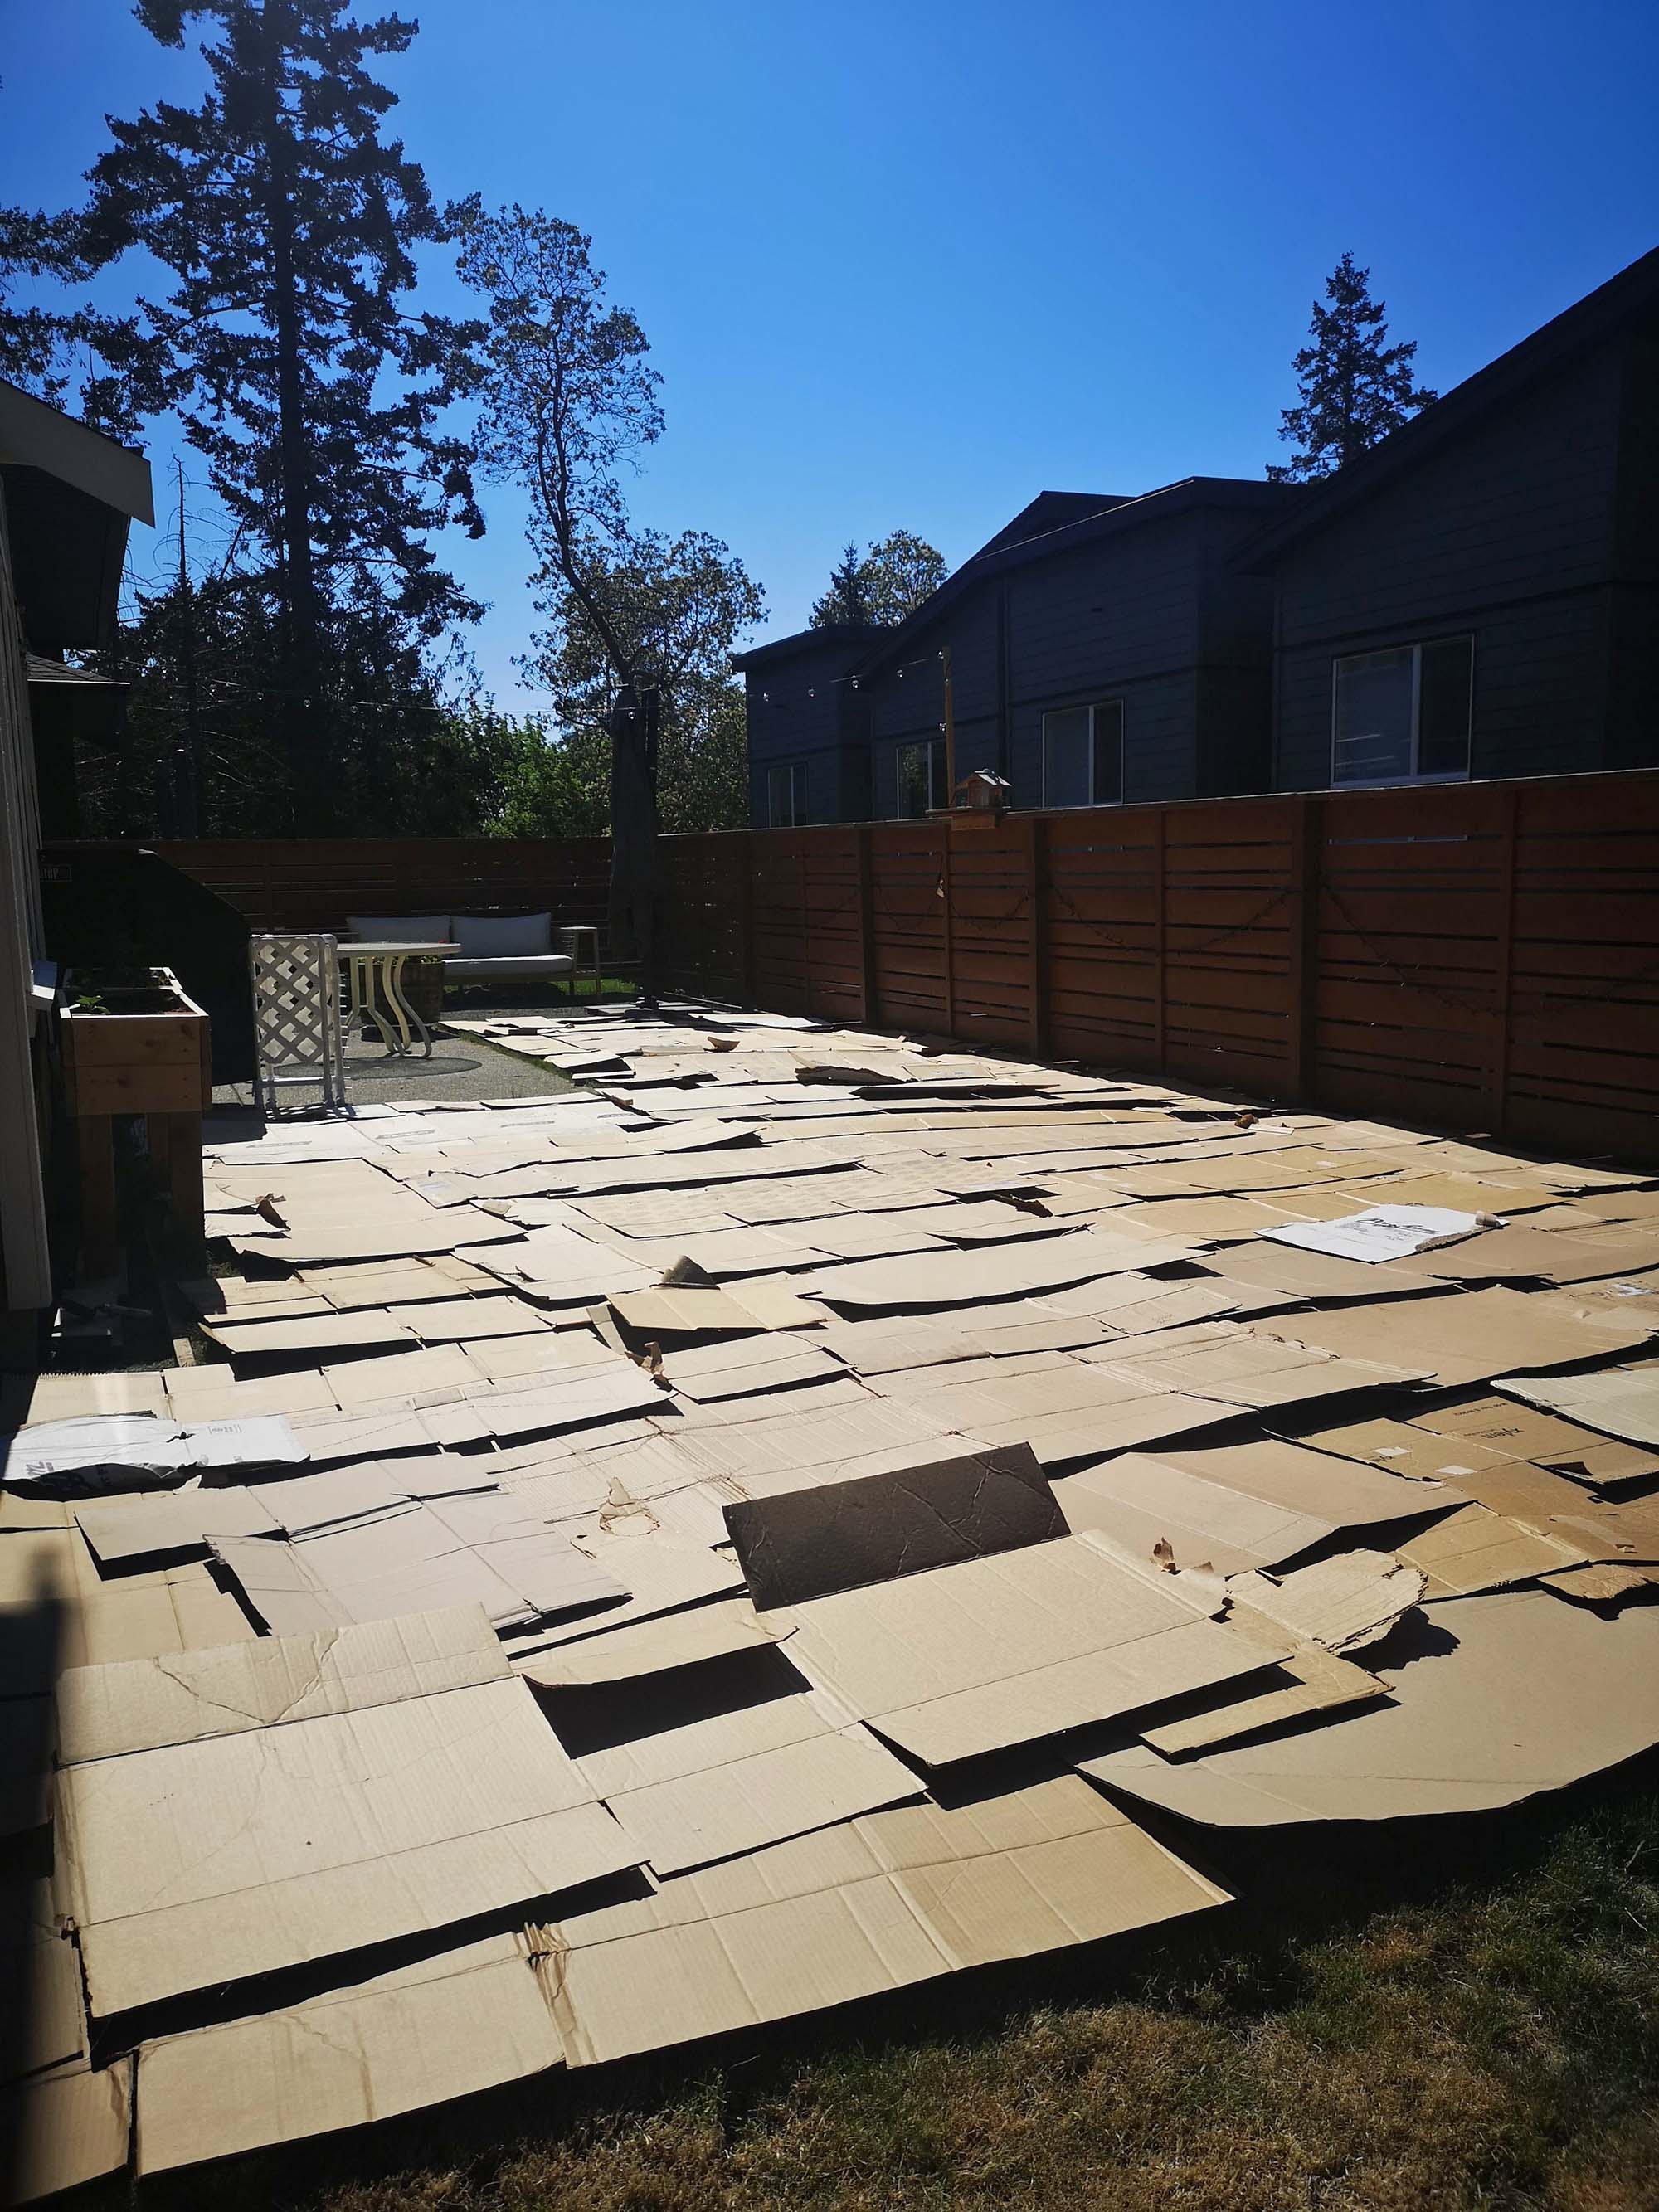
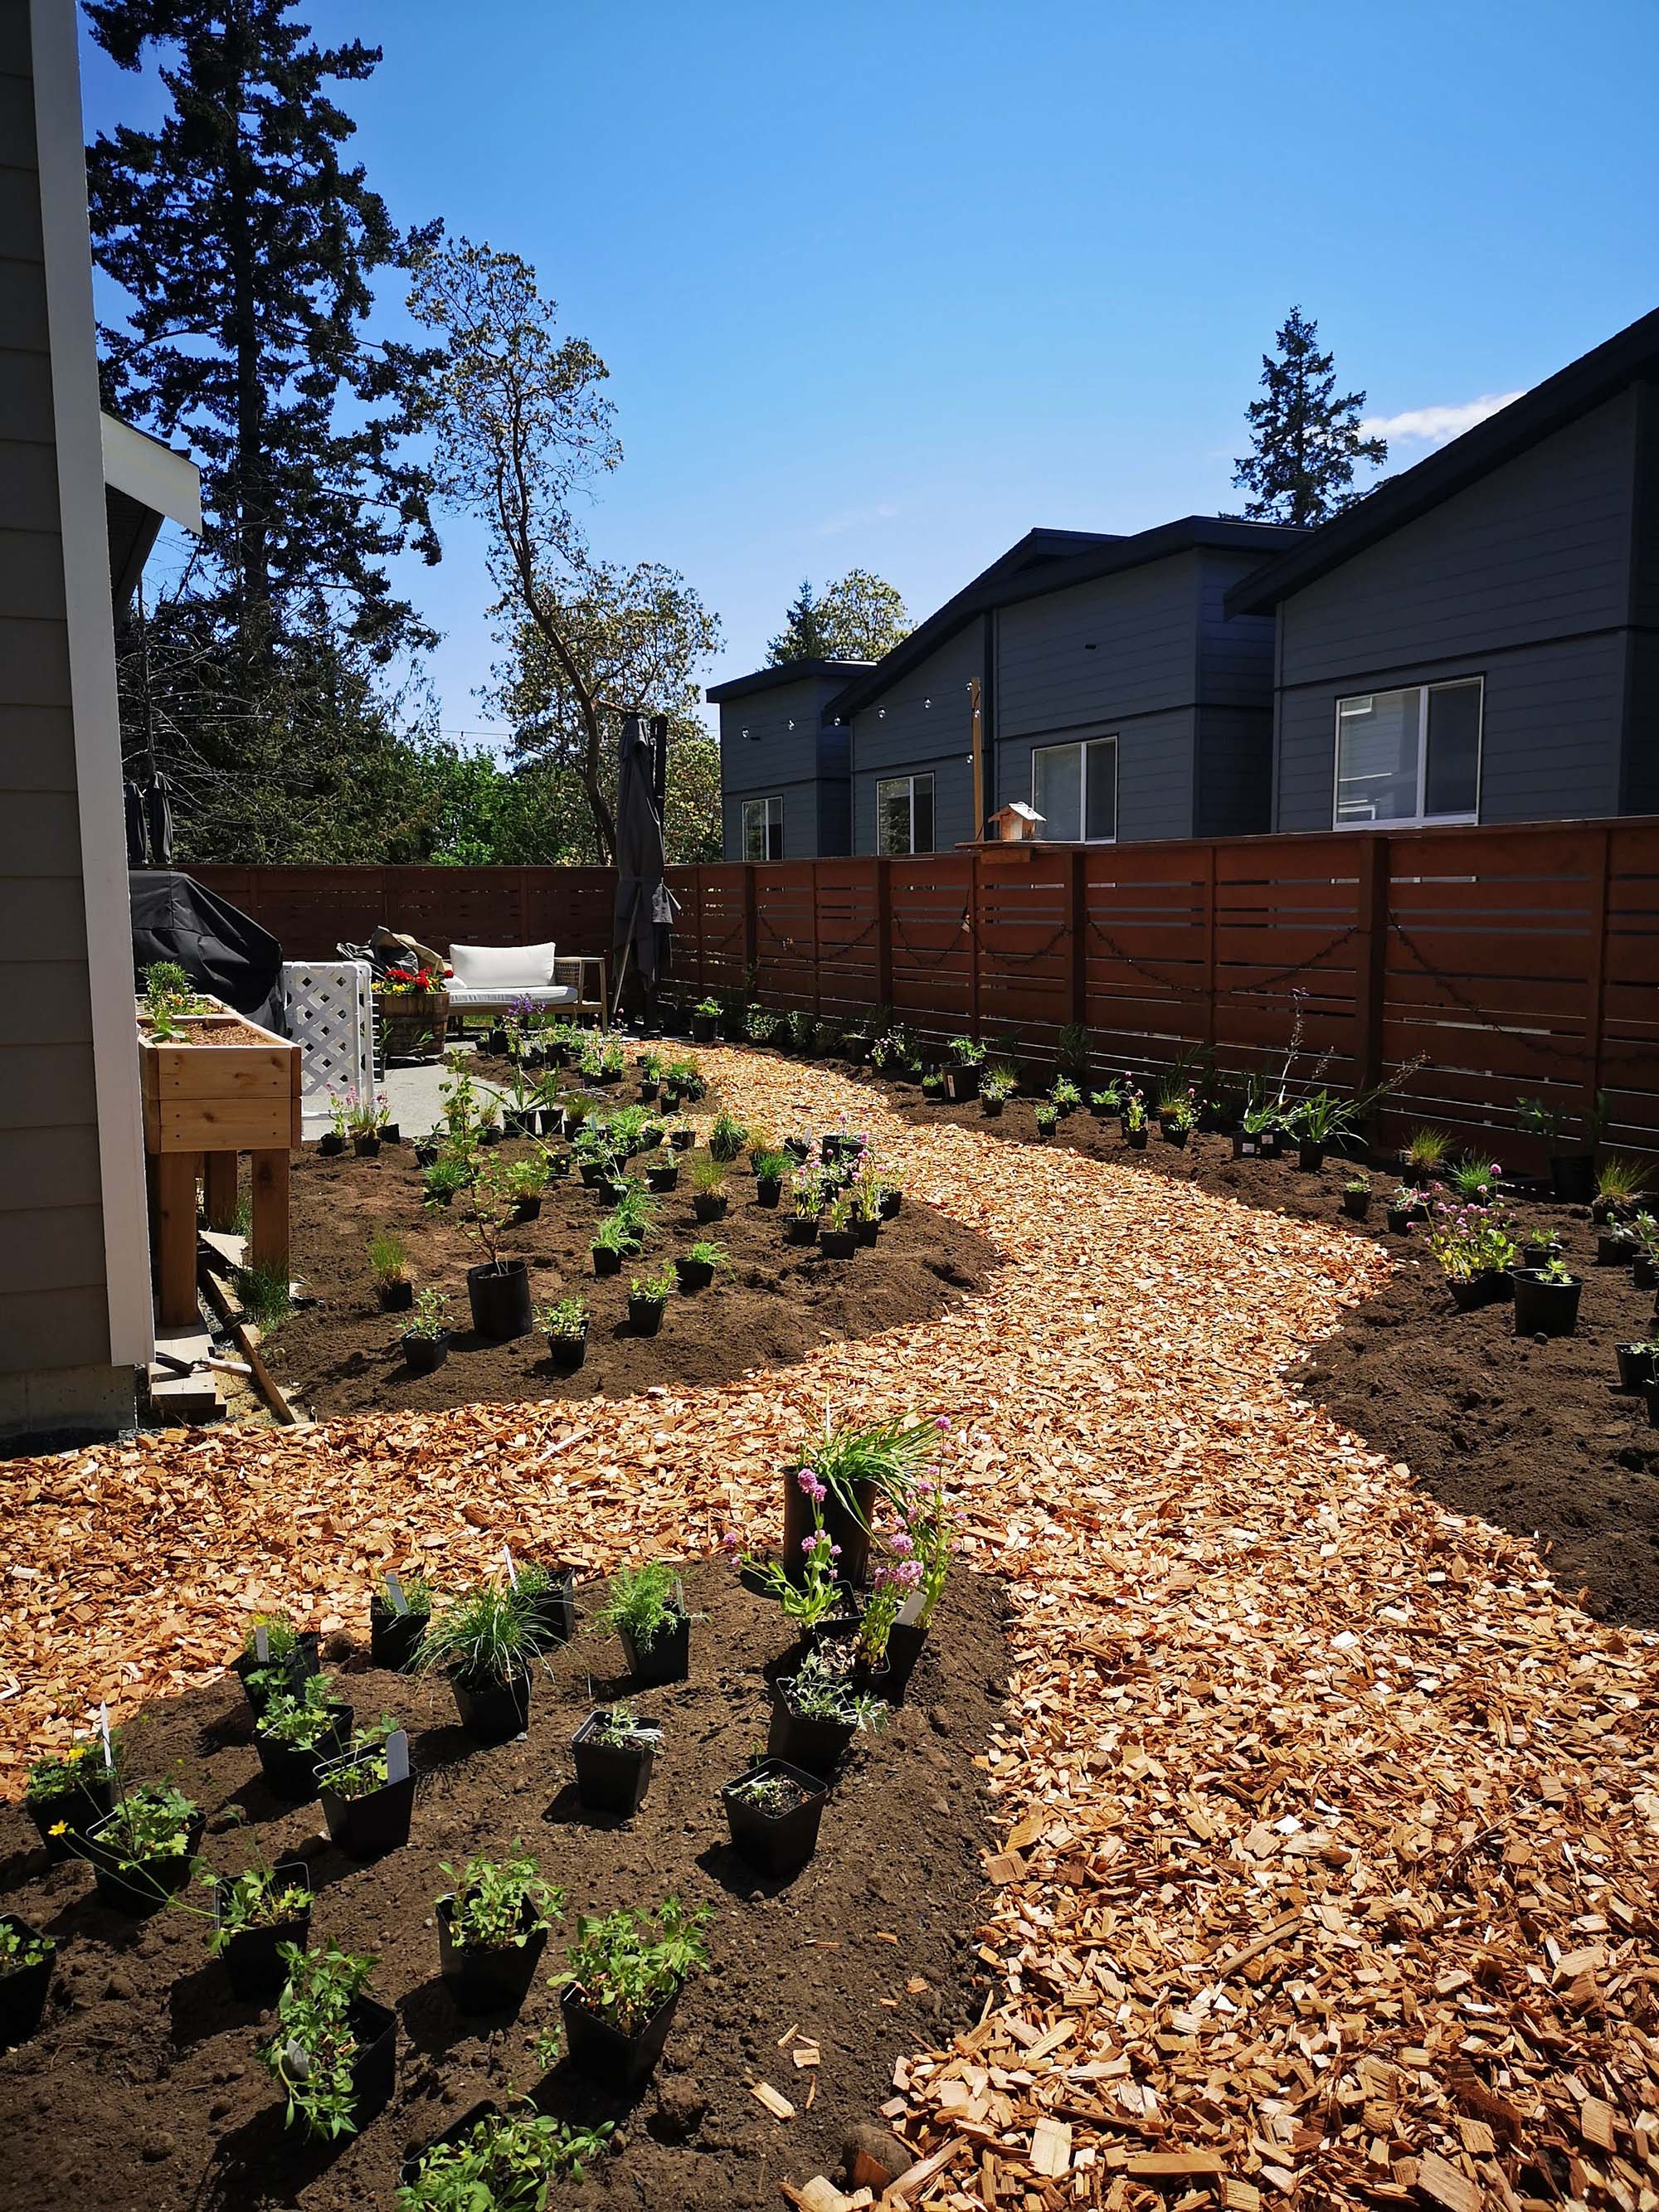
"Garden 2" during sheet mulching and before planting. Photo: Wilder Restoration
The pros
Sheet mulching is the go-to lawn removal method of Emma Ross, who owns the Victoria, B.C., landscape restoration company Wilder Restoration. It’s cost-effective and simple and also keeps the existing soil and seed bank intact, which will reduce issues with weeding and maintenance down the line. In the part of B.C. where she operates, the rain breaks the cardboard down quickly, and she says that if you plant into the soil above it you can enjoy a new garden right away. Plus, it’s not labour-intensive and won’t require you to remove or dispose of any materials.
The cons
Sheet mulching is a long game. Estimates vary from one to 10 months of waiting before it’ll completely kill your lawn. Ross also cautions that you can’t sheet mulch over every kind of plant and encourages homeowners to identify what’s in their lawn before they get started. Plants with taproots or rhizomes or plants like invasive thistles can grow through your layers of sheet mulch, making it hard for you to get a clean-slate result.
Heavy/deep mulching
This method is similar to sheet mulching but involves a much deeper layer of mulch: about eight to 24 inches. You can bring in multiple materials, beginning with cardboard if you’d like (though it’s optional), but also including sticks, grass, weeds and more.
The pros
Deep mulching builds the soil very effectively and is a great option for homeowners who don’t want to put down money for soil and plants up front. Rather, this approach is buildable – you can add layers to your mulch on your own time. Plus, it’s just as effective as sheet mulching.
The cons
This process requires even more patience than sheet mulching – it can take a few seasons for your mulch layers to break down. Ross suggests that if you want to plant in the spring, you can layer your mulch in the fall and wait through the winter.
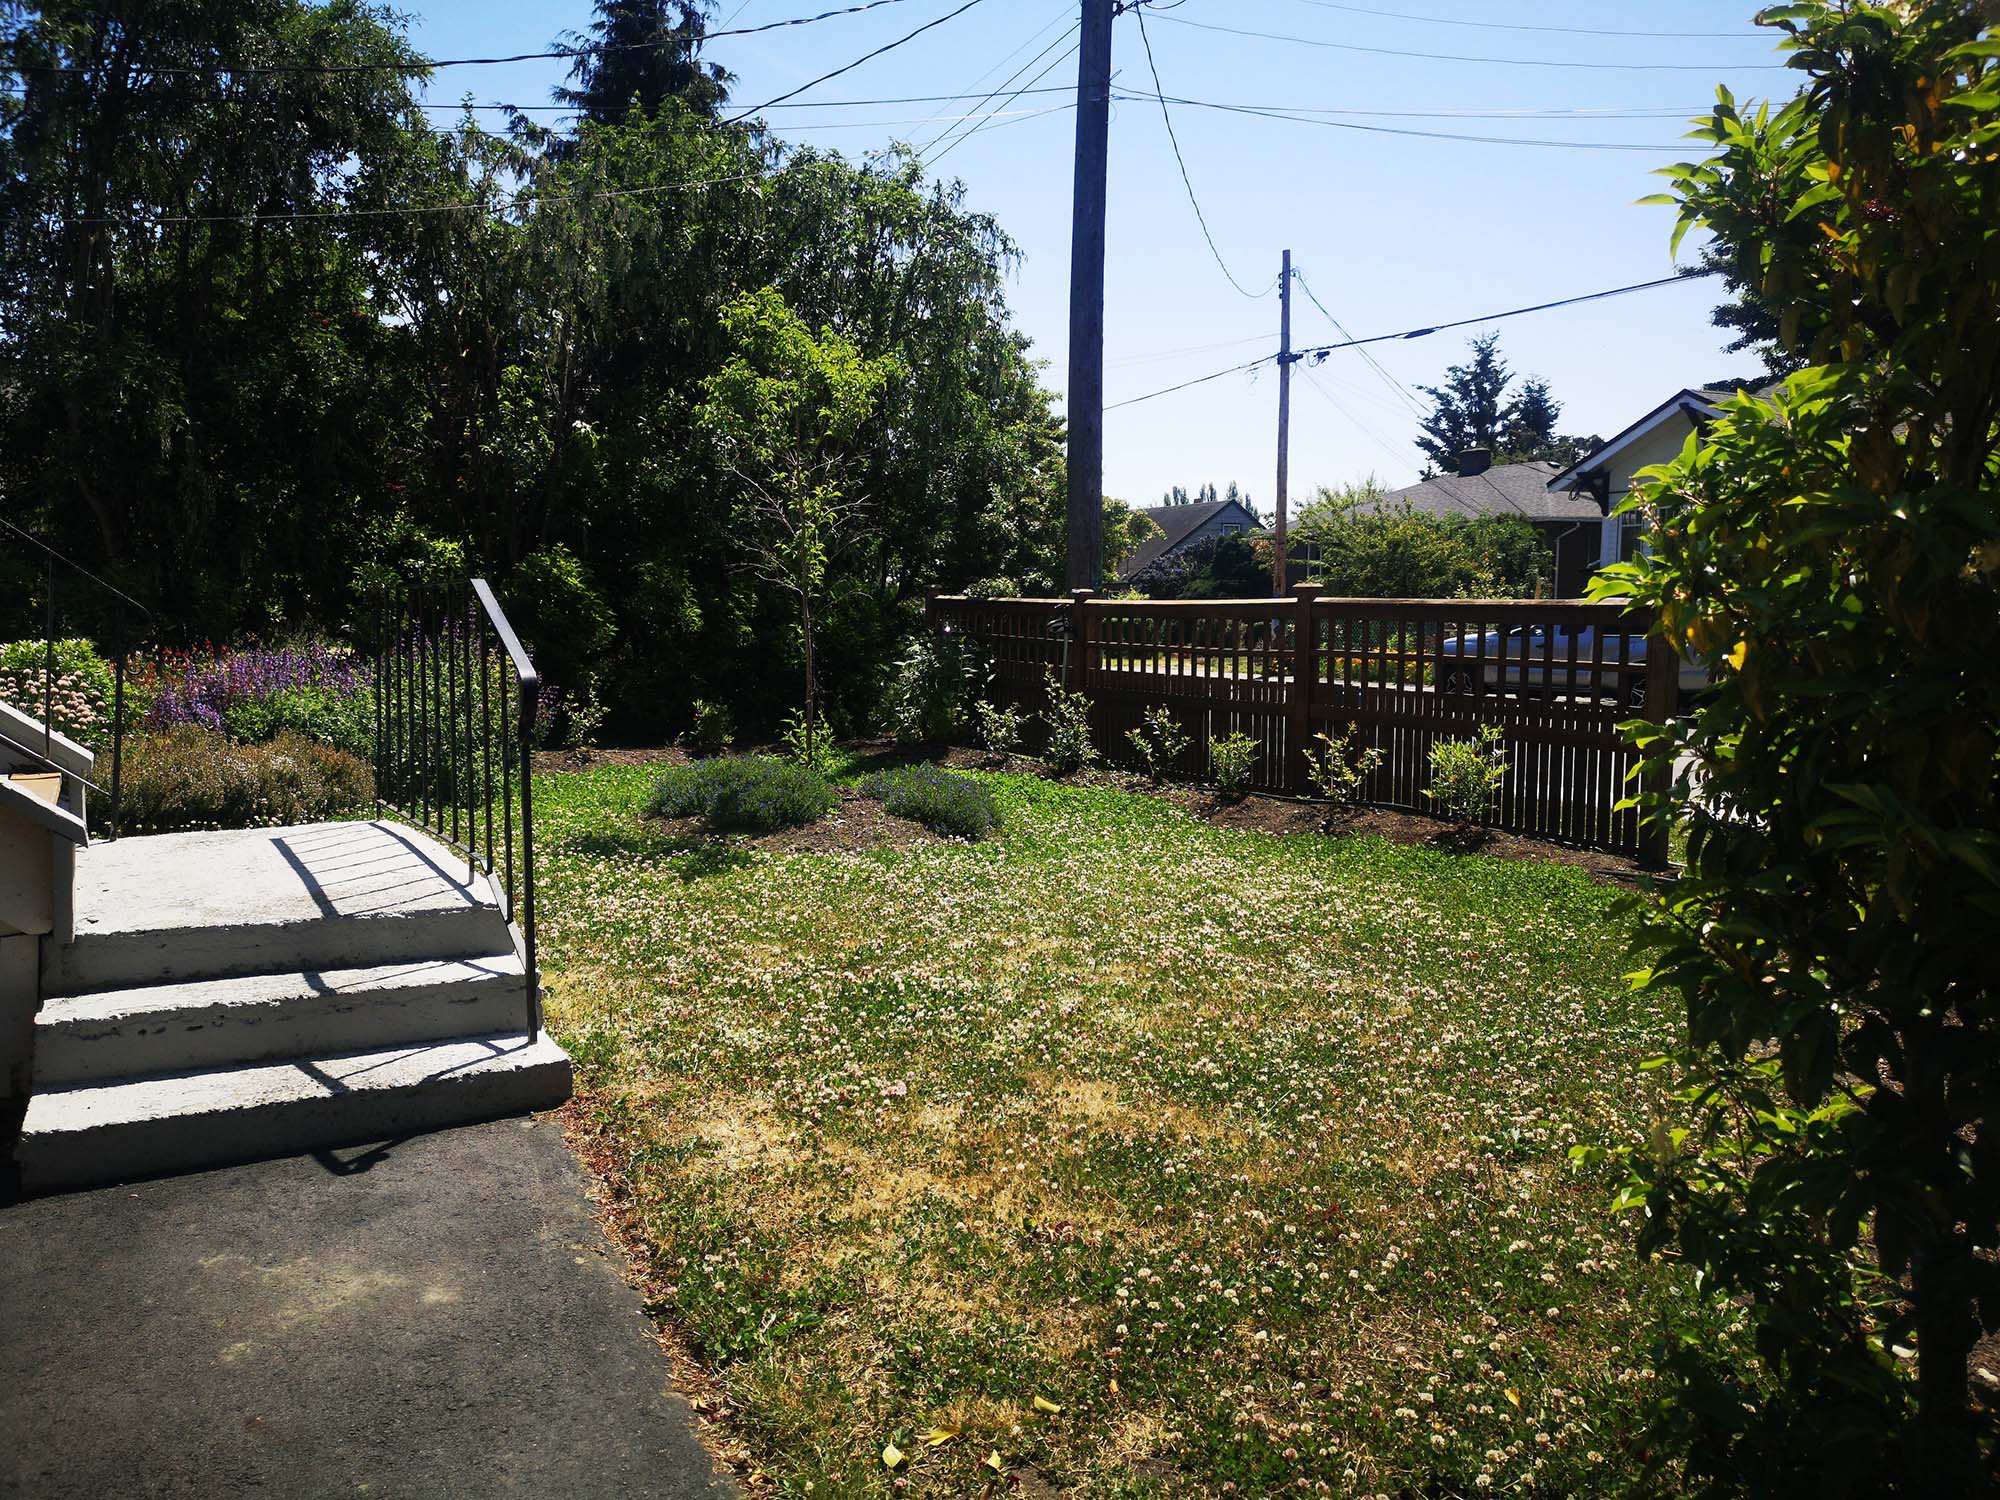
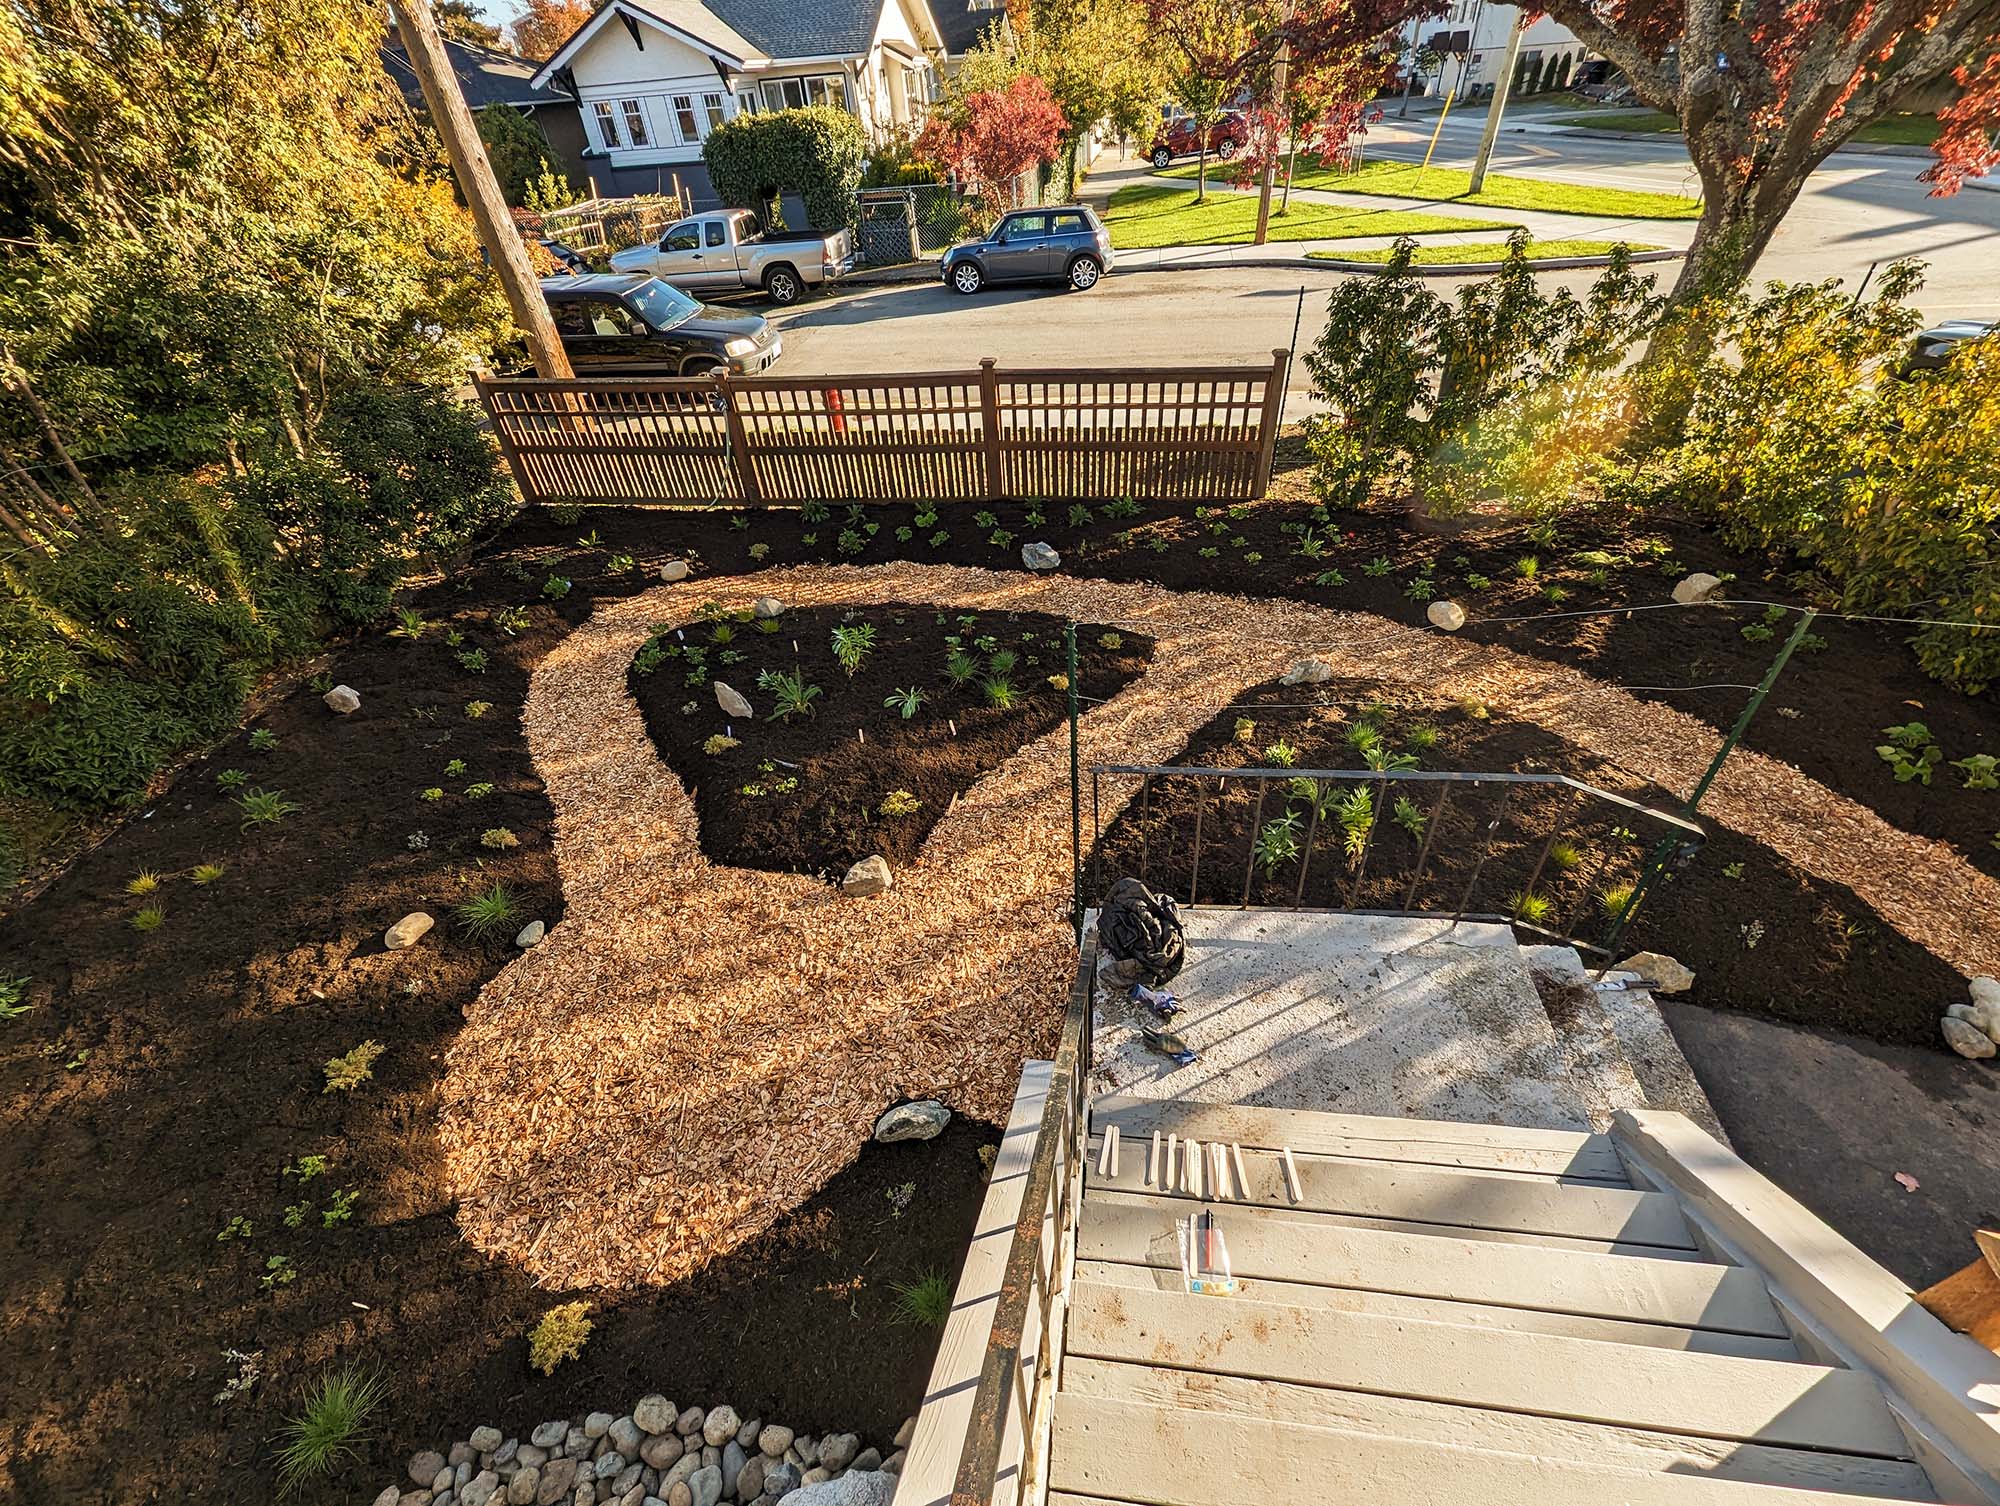
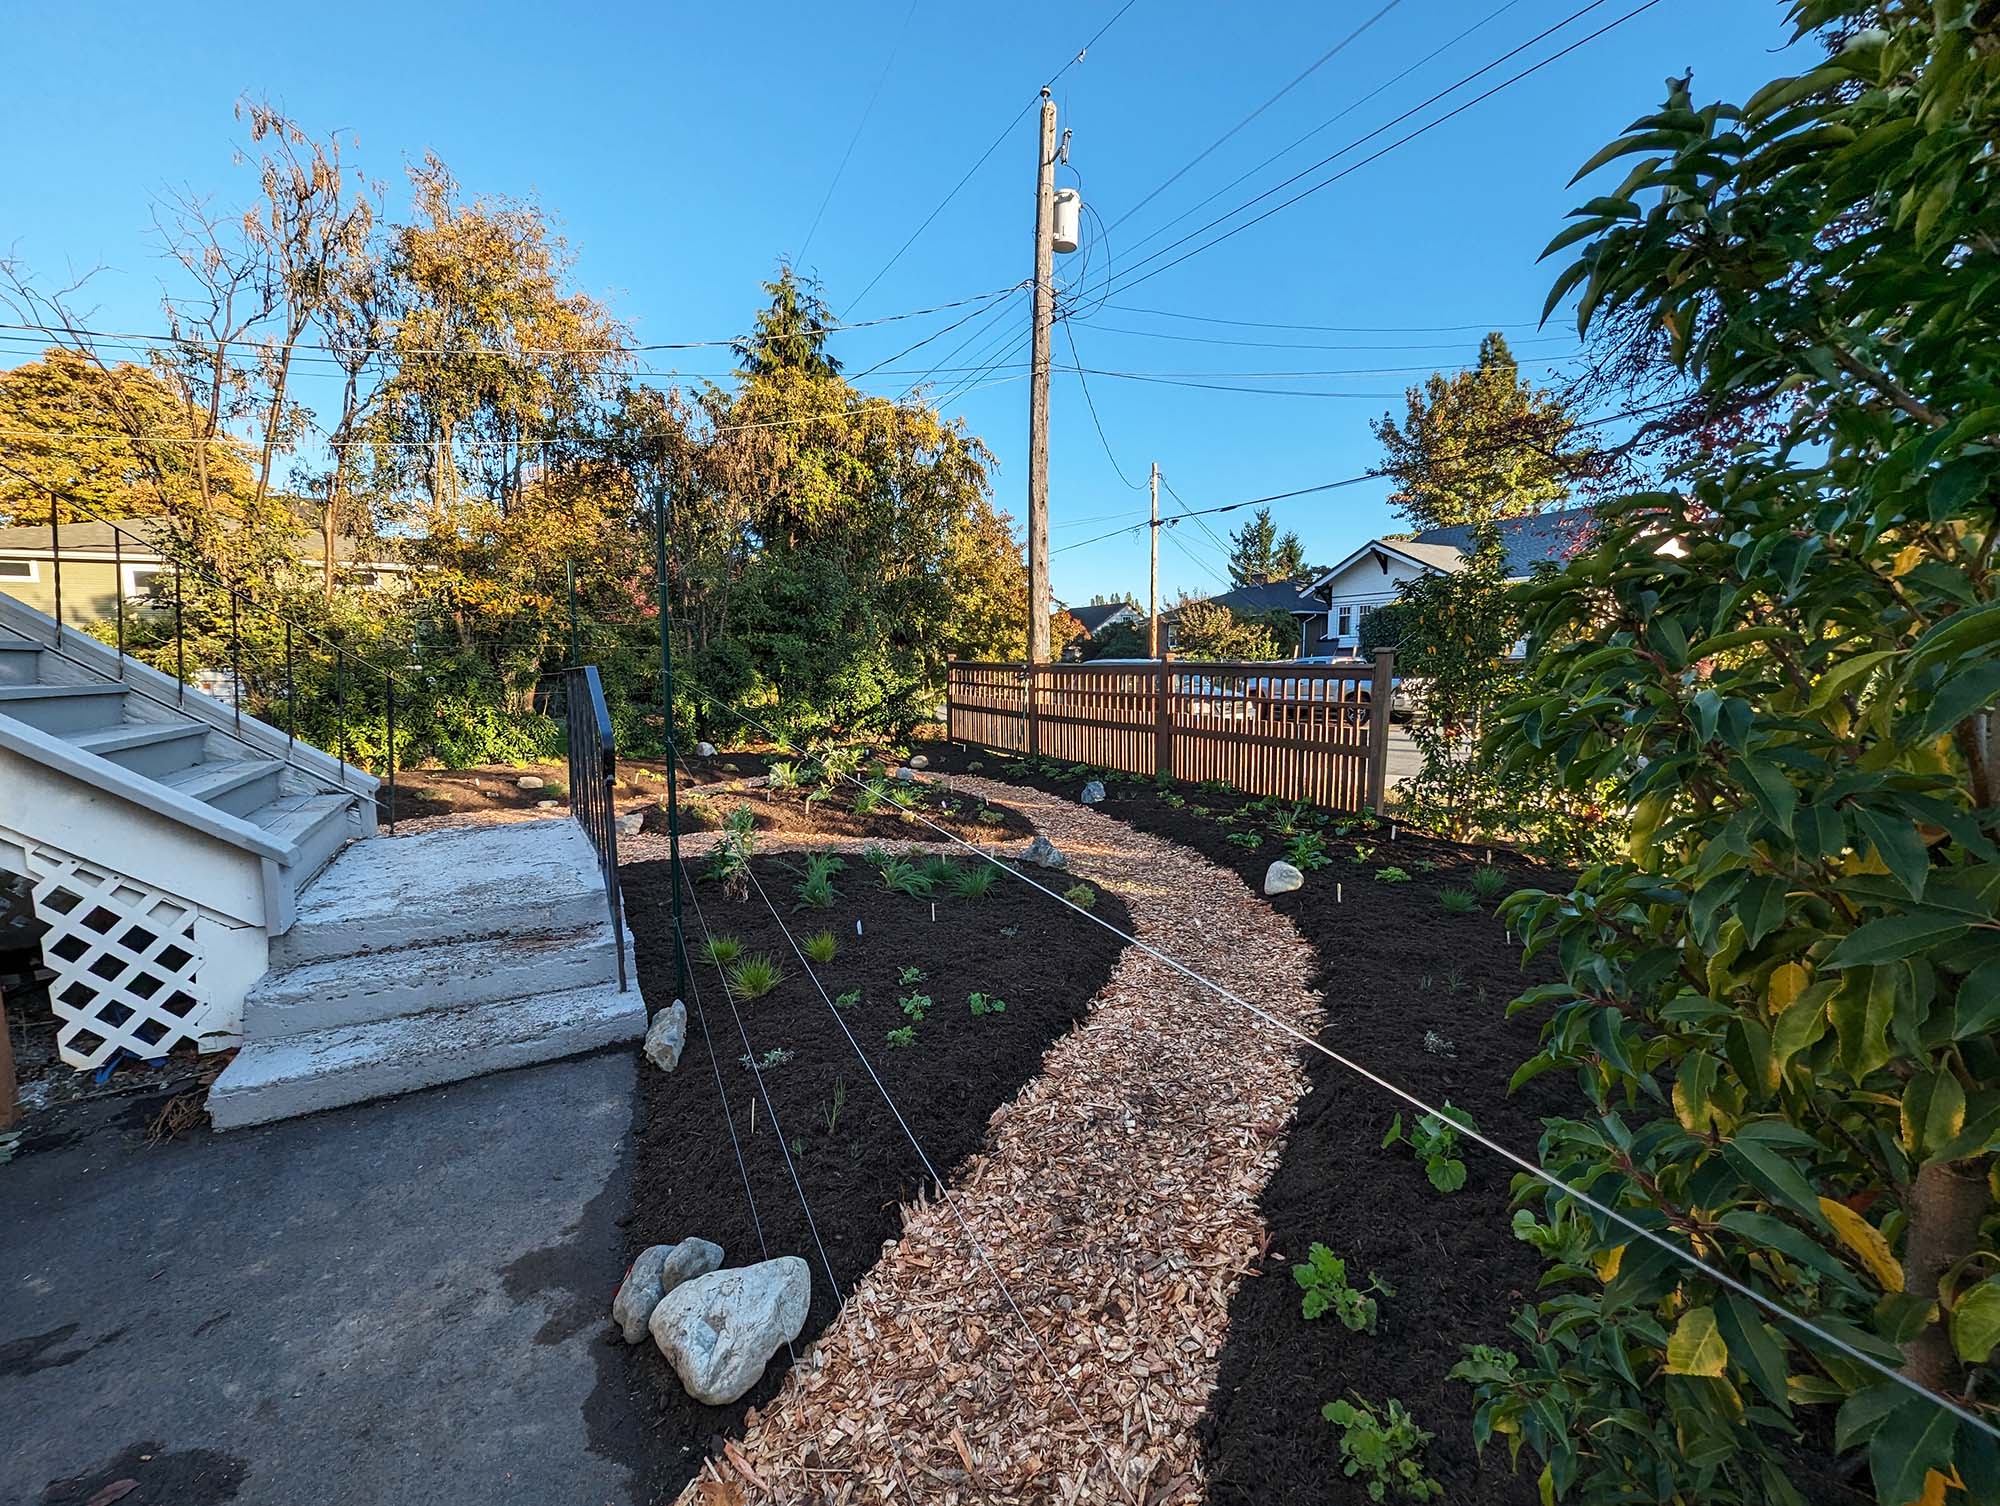
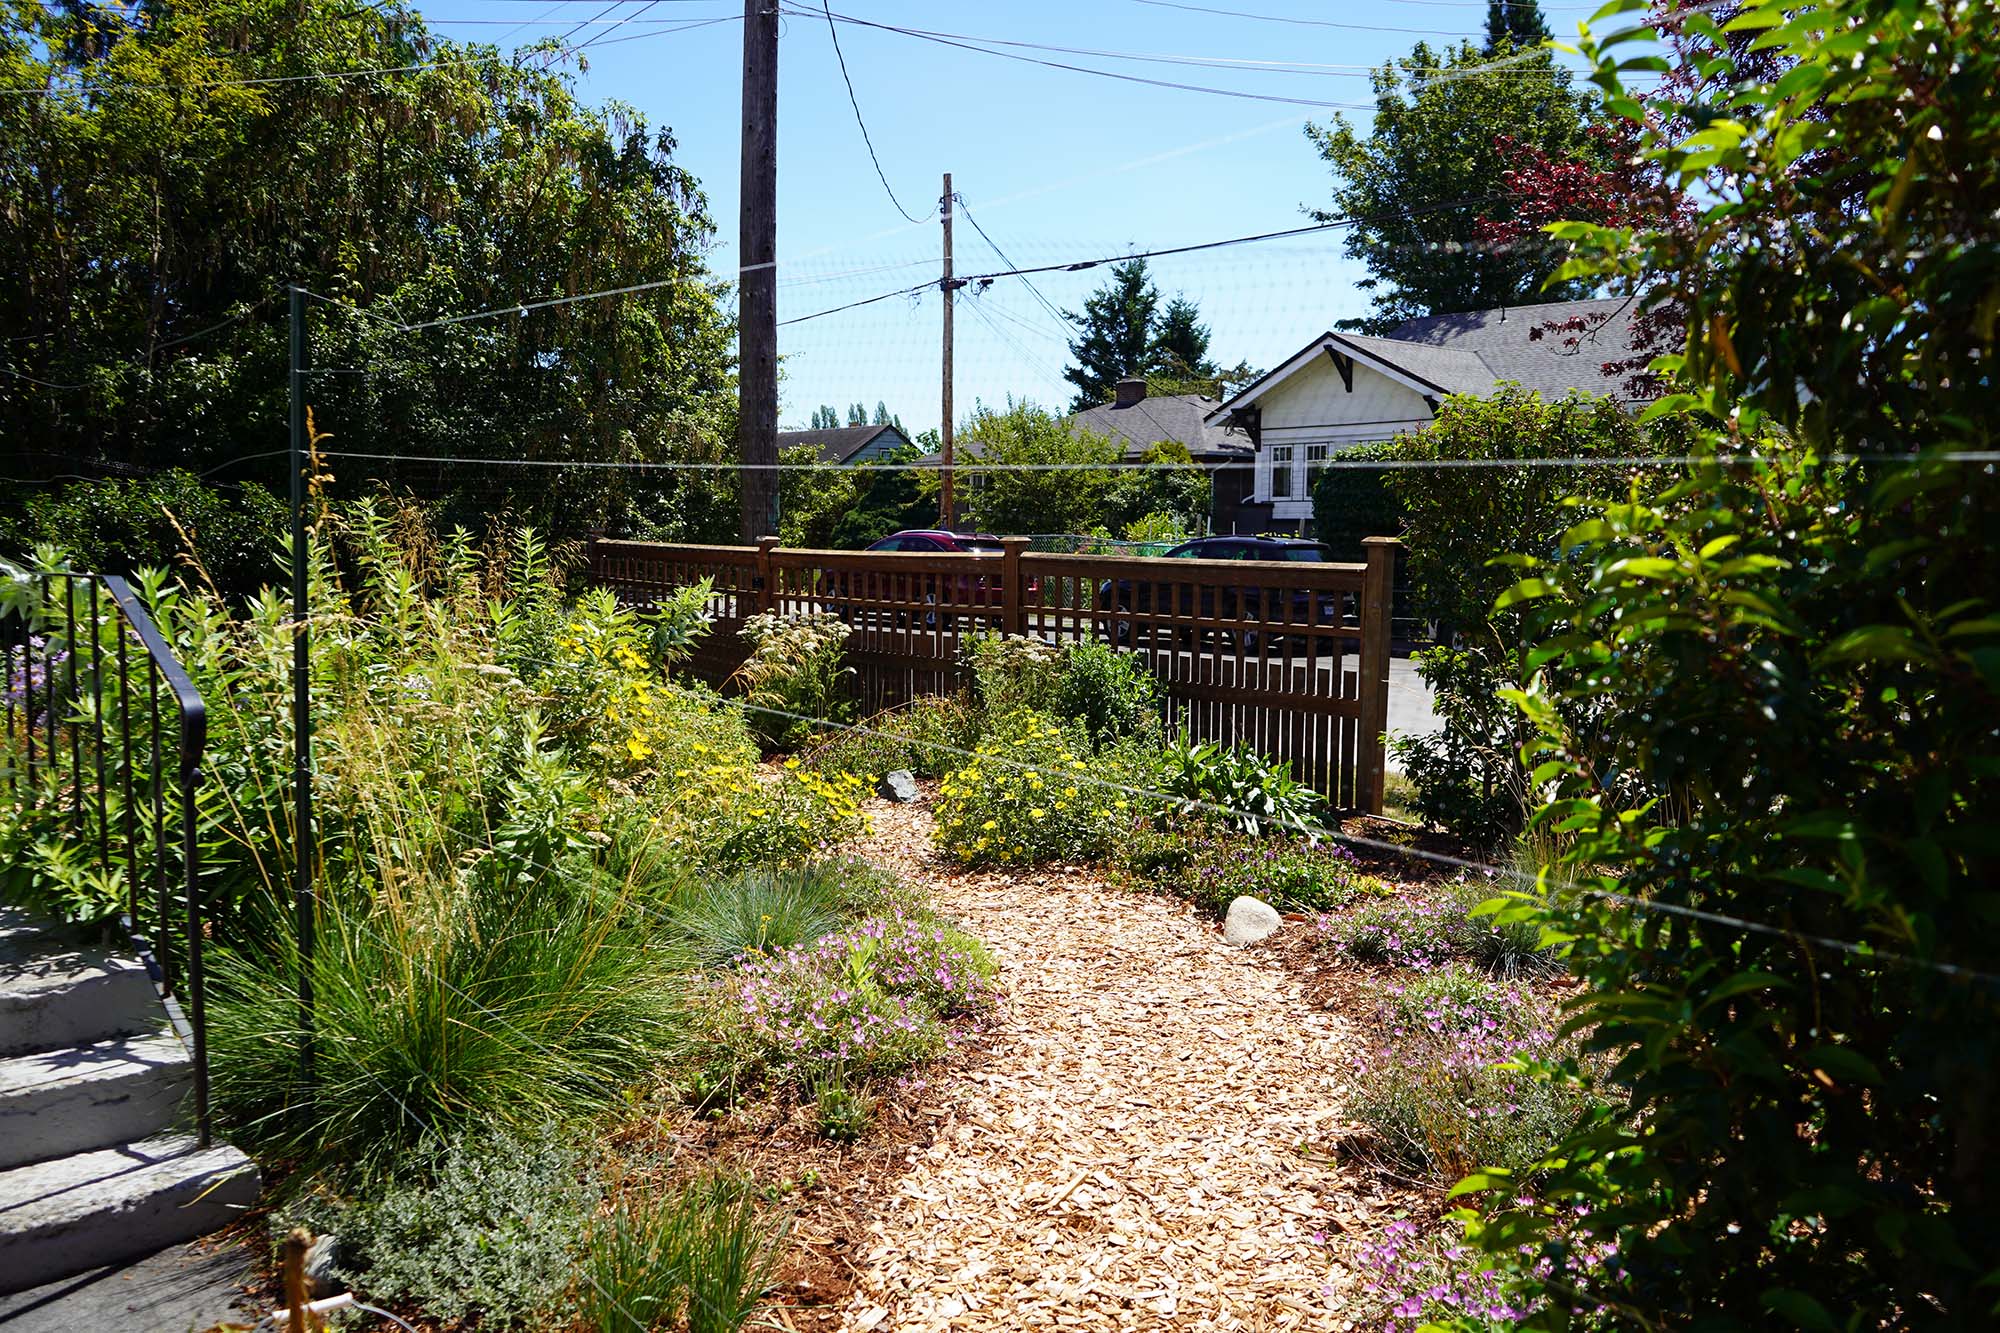
"Garden 1" at multiple stages. Photo: Wilder Restoration
Sod cutting
Sod cutting is a popular lawn removal method among traditional landscapers, who will use a machine to slice the top layer of your lawn – roots and soil included – into strips. Those strips can then be rolled up and disposed of, or turned over and composted in place for about six months. (Technically, you can approximate the effects of sod cutting by using a shovel to manually dig up your lawn – but that’s a lot more work.) Then, like with sheet mulching, you’ll need to add a fresh layer of compost to make up for the missing inches of soil.
The pros
Sod cutting is fantastic if you’re into instant gratification. Unless you’re planning to compost your sod strips in place, you won’t need to wait months to clear your lawn.
The cons
Sod cutting can be incredibly labour-intensive and expensive. If you don’t own a sod cutter, you’ll need to rent one or hire a professional. You’ll be left with a load of material to dispose of, which can be costly and inconvenient – some landfills don’t accept it. It also won’t work for every type of grass. For example, Bermuda grass has roots that penetrate several feet into the soil, and it can grow back if even an inch of root remains. For persistent lawn grasses like that one, you’ll need to use herbicides or a slower method like solarization.
Environmentally speaking, sod cutting also isn’t the greatest option. For one thing, the machines use fossil fuels. But it also damages the microbiome and releases the seeds stored in the soil – which means you could end up doing a lot more weeding down the line.

Solarization
Solarizing your lawn involves covering it in an airtight, secure layer of plastic sheeting, which will trap the heat of the sun enough to kill the grass and sterilize the soil. To prepare, you’ll want to cut and water your lawn, then lay down the plastic and weigh down its edges.
Often, experts recommend black plastic sheeting for this. So did Jenkins, once upon a time – but he found that it often left fungi and molds behind, so today, he recommends clear sheeting. After a few weeks, your grass will be dead. At that point, you can remove the plastic sheeting and allow the dead plant matter to compost in place.
The pros
Solarization is fairly passive and doesn’t require heavy labour or equipment. It also isn’t hugely disruptive to the environment, although it will kill some insects and temporarily take out the healthy fungi and bacteria. But since it’s essentially soil sterilization, it’ll also kill any plant diseases and weeds lurking in the top few inches of your soil.
The cons
Like sod cutting, solarization may not work well on plants with deep roots, like Bermuda grass. It also requires a fair amount of heat, so it’s not a recommended year-round method – rather, it works best in the summer months. And, like many other lawn removal strategies, patience is an essential ingredient. You’ll likely need to keep the sheeting on your lawn all summer, which can look unsightly. What’s more, weed seeds can remain present in the soil. But Ross says you can mitigate that by covering your existing soil with a few inches of clean soil.
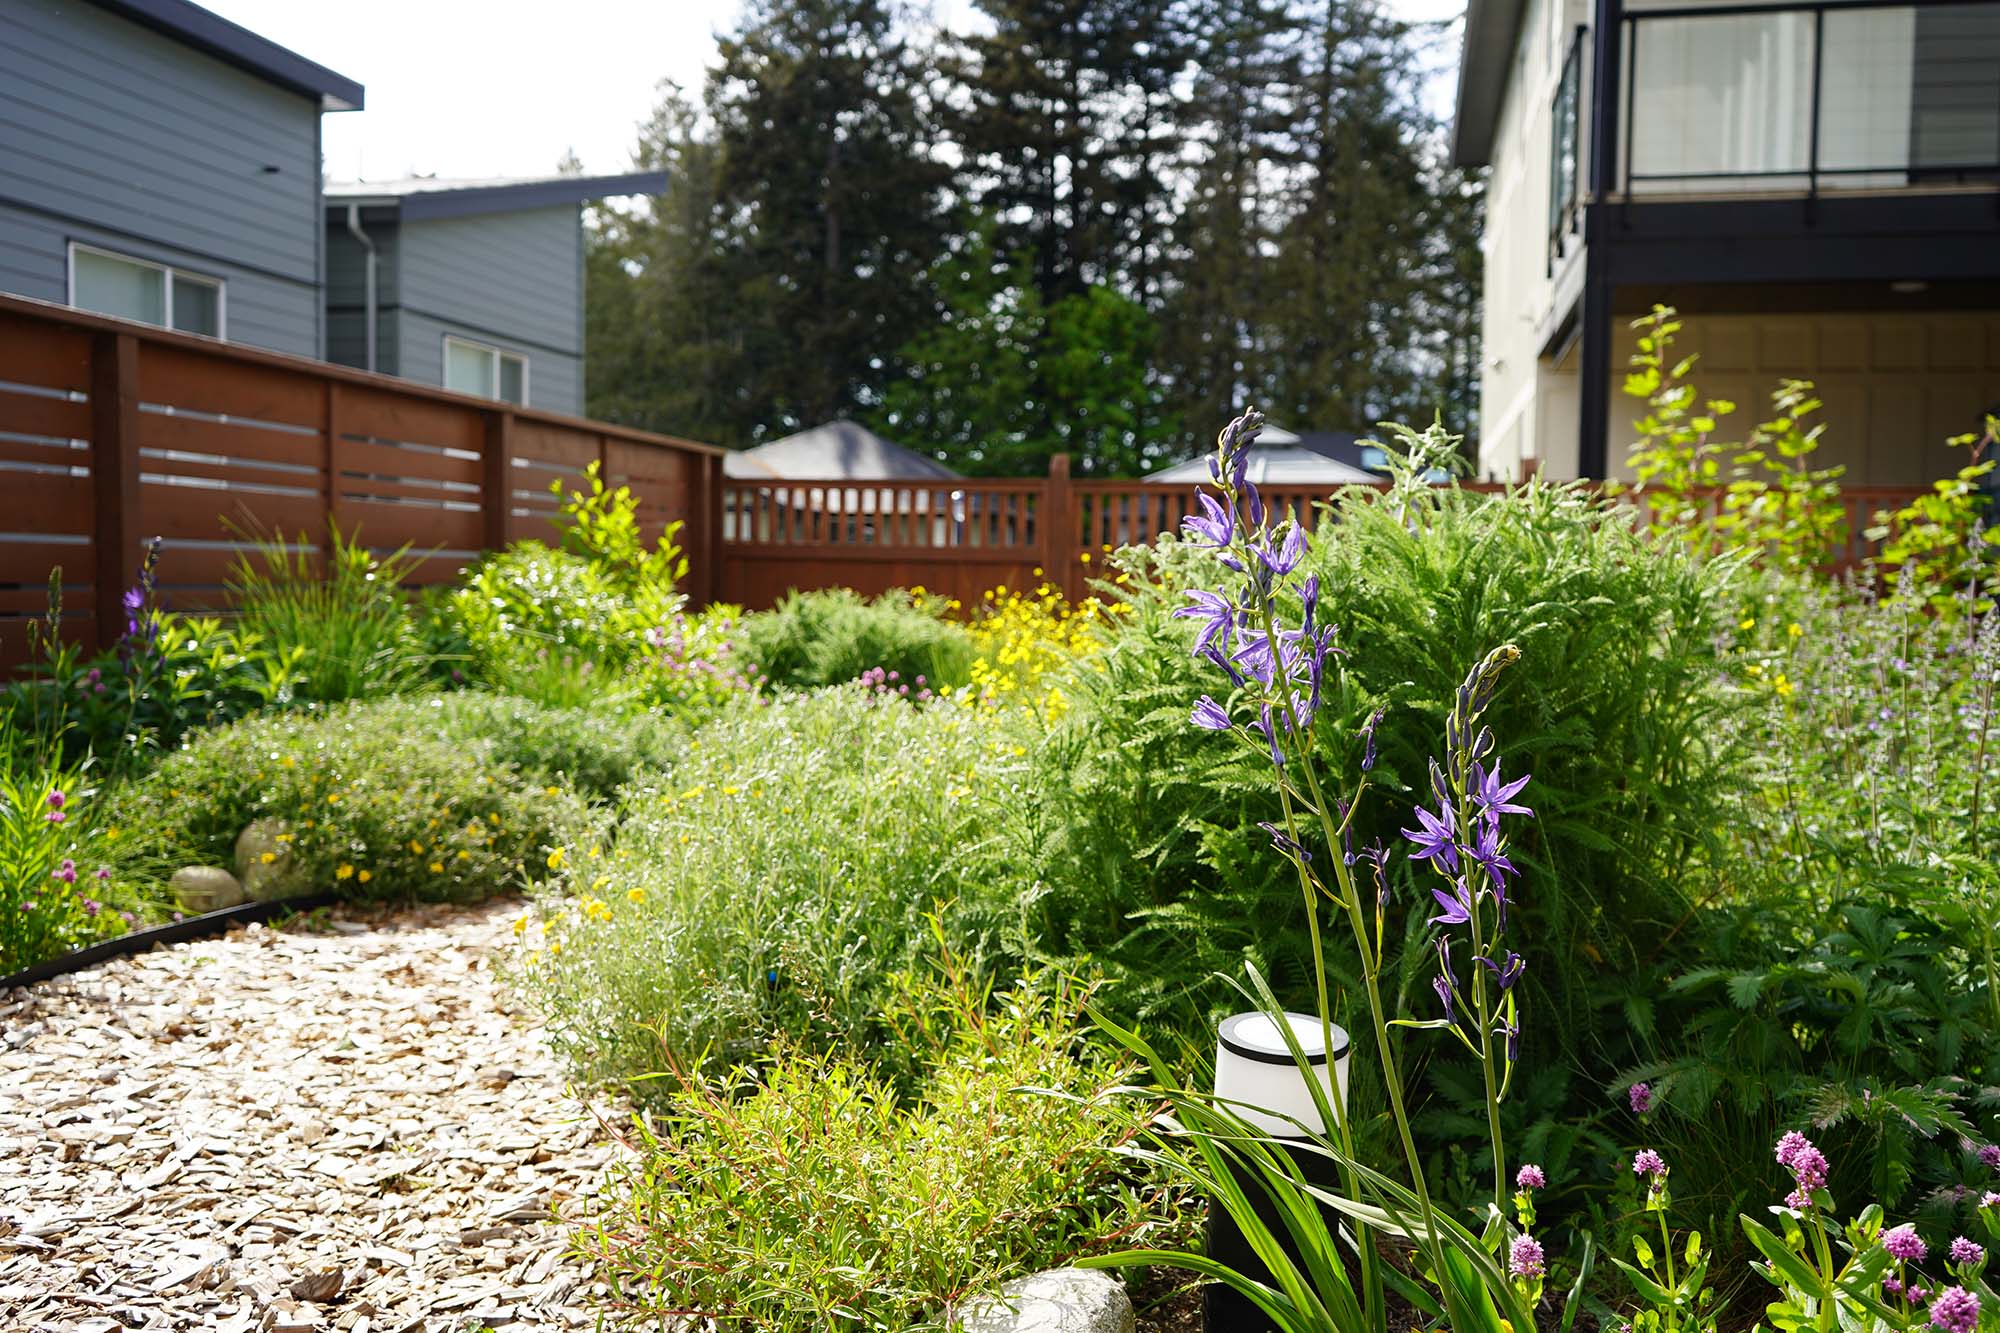
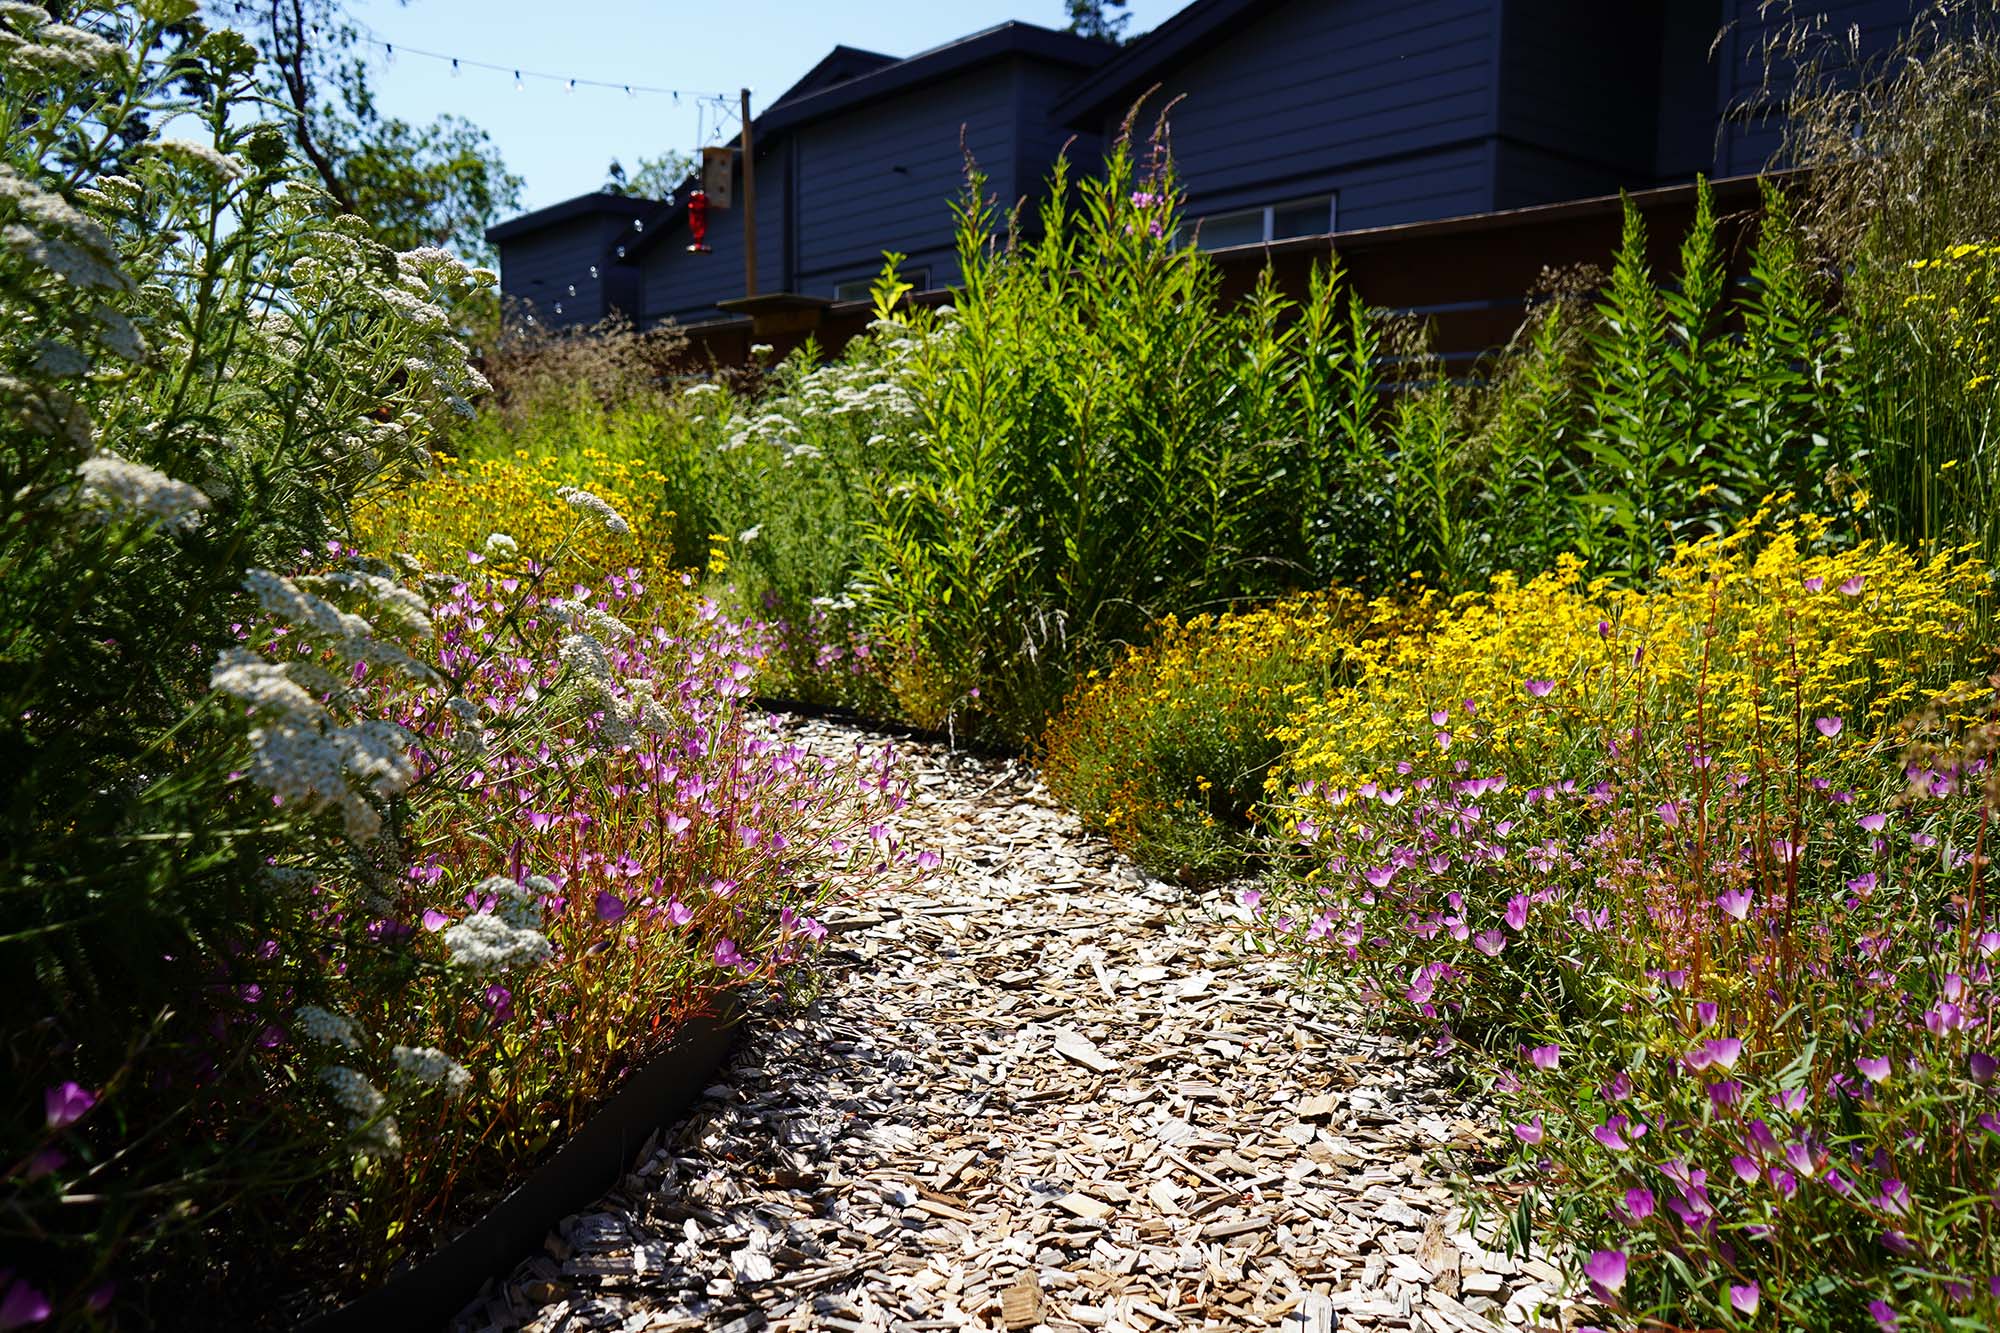
"Garden 2" in spring and summer. Photo: Wilder Restoration
Herbicide
While applying a herbicide might seem like the fastest way to remove your lawn, it’s important to approach this method with caution due to significant environmental and health risks. You’ll want to use a non-selective, post-emergent herbicide, meaning one that kills plants after they’re already established and isn’t picky about what it kills. After applying the substance to the desired area according to package instructions, your grass should be dead within two weeks.
The pros
Herbicides are a quick fix, and glyphosate – the most widely used herbicide in Canada – can remove extremely aggressive invasive plants when other methods can’t.
The cons
You can’t purchase effective herbicides everywhere – Ontario, for example, bans pesticides that include glyphosates due to health and environmental concerns, and the David Suzuki Foundation and other health and conservation groups are in court calling for a total ban on glyphosate-based products. Jenkins says that all the other herbicides he’s tried haven’t managed to kill the roots of lawn grass, so it ends up growing back. Herbicides can also be fairly expensive. And although this is one of the quickest lawn-removal options, be forewarned that if your grass is well-established, you may need multiple rounds of herbicide to clear it all out.
But most important, these chemicals can be dangerous for your personal health, your pets and the local ecosystem. They can run off into water systems and persist in the environment. So Ross emphasizes that herbicides should be a last-resort measure – it’s one that she avoids herself, instead opting for safer, more sustainable lawn removal methods.
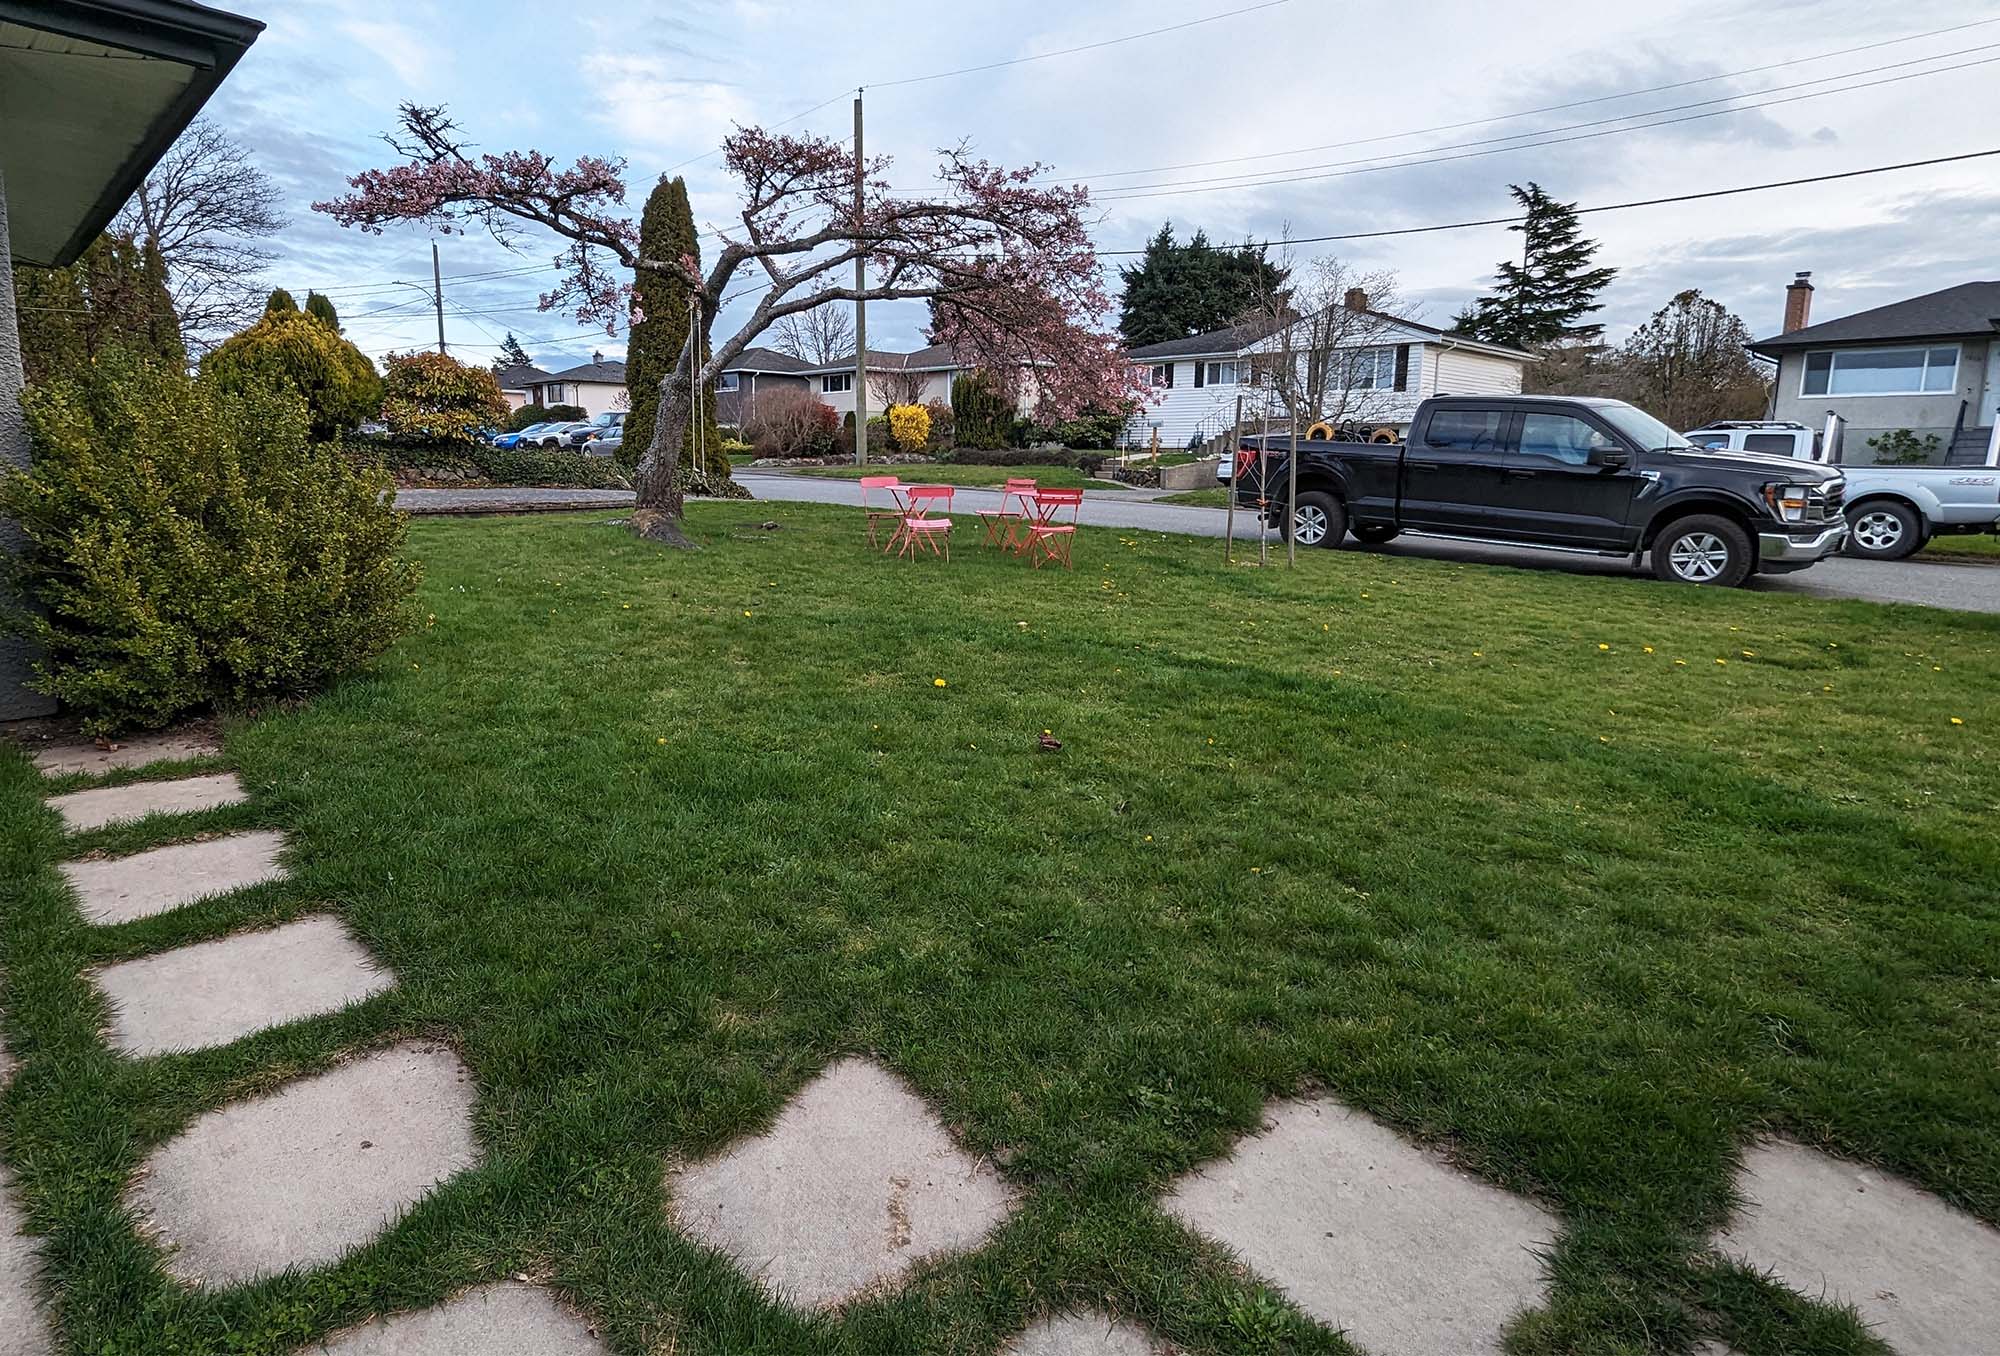
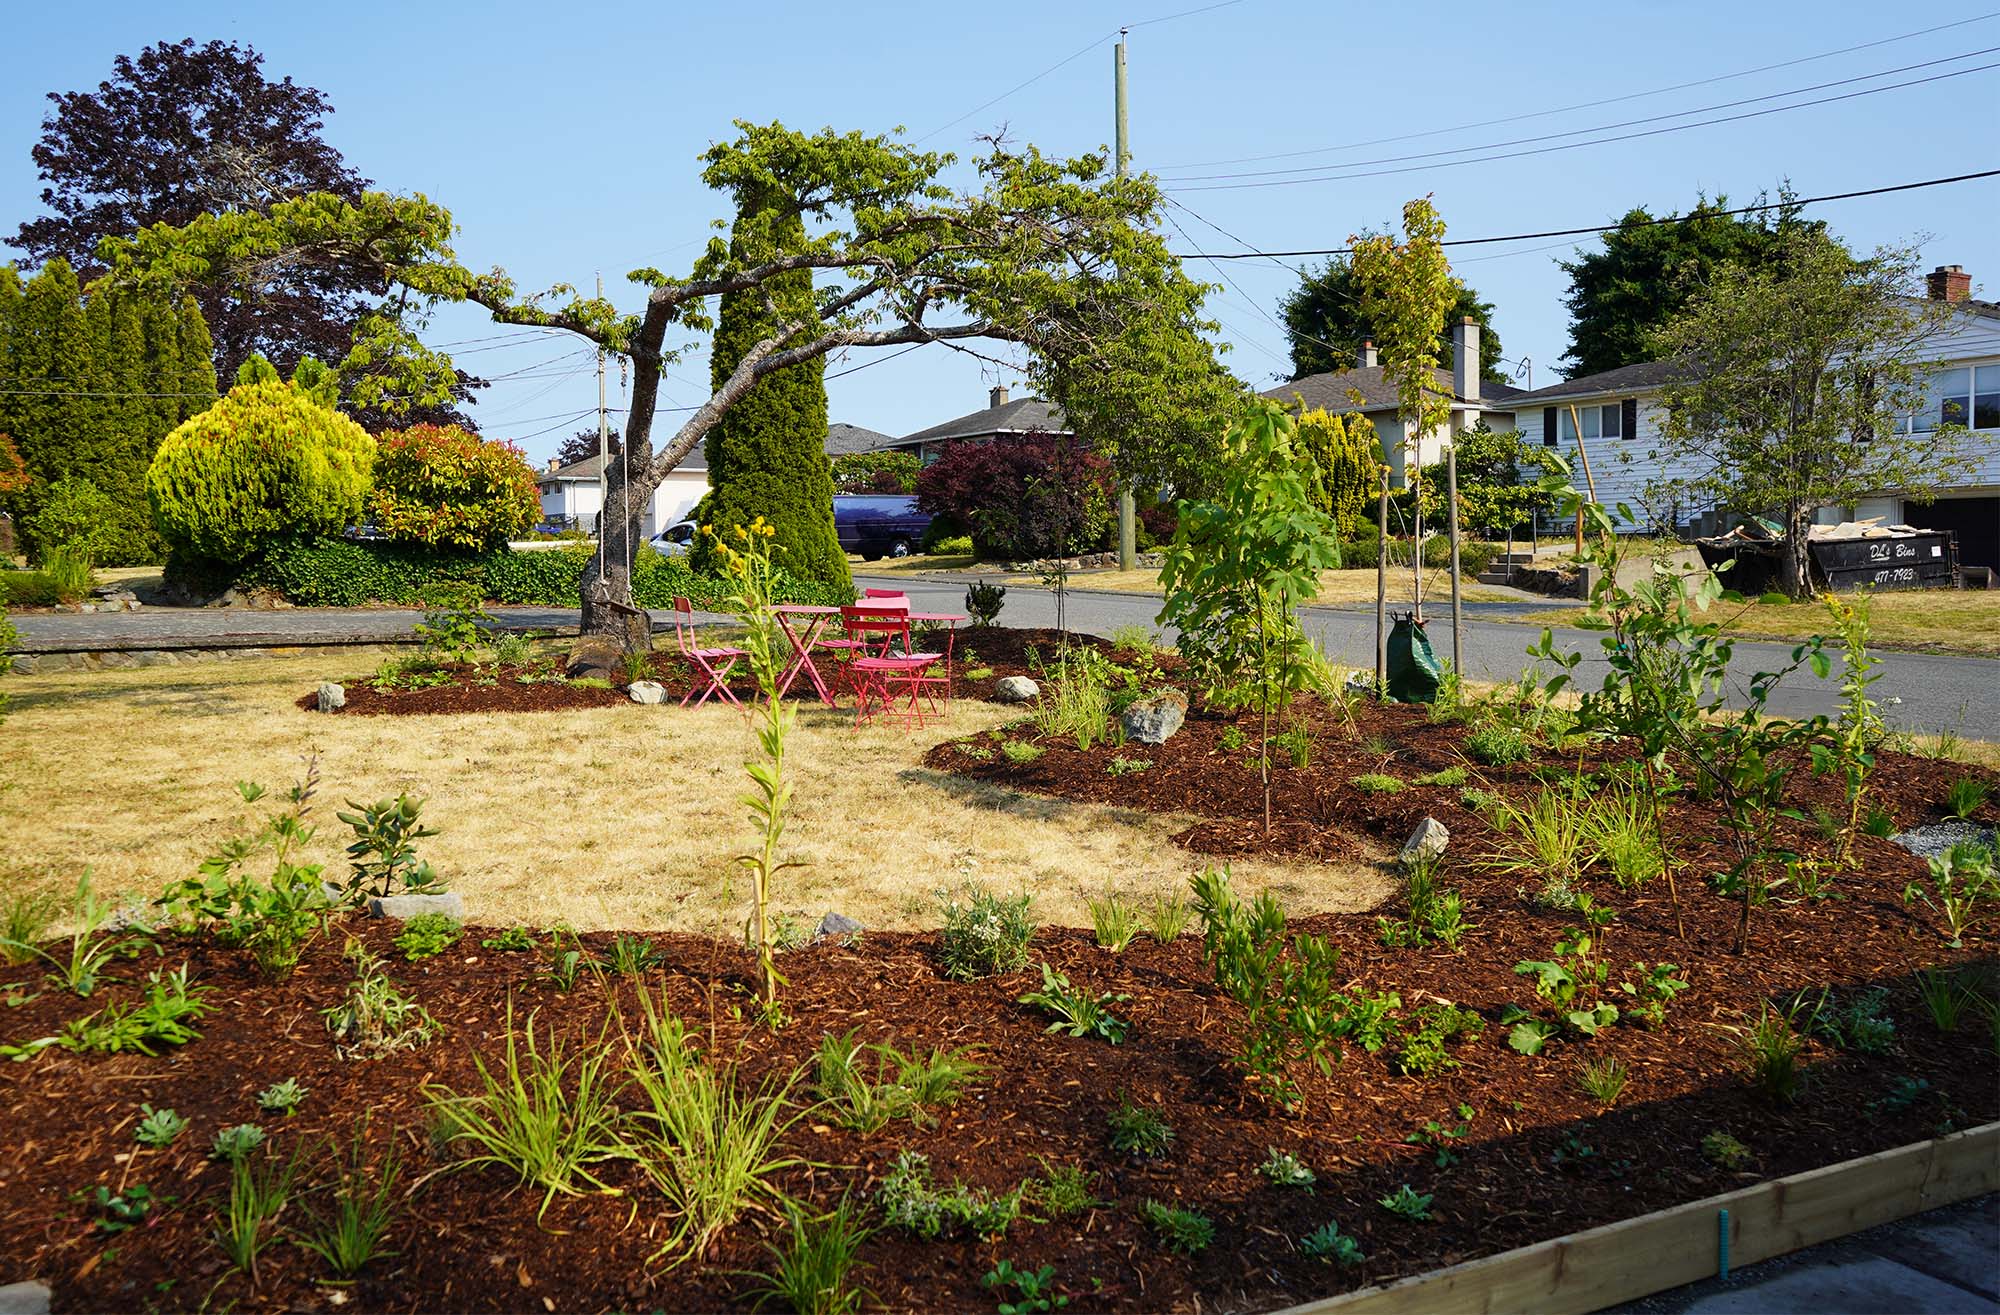
"Garden 3" before and after planting. Photo: Wilder Restoration
Take your time! Lawn removal is a process
While it can be tempting to remove your whole lawn at once, that’s only the best choice if you have the time and resources to replace it and care for what you’ve planted. Another approach that works well for many people is to take things step by step. You can also start by expanding a border, adding an island bed or choosing just one section of lawn to remove and replant.
Timing matters, too. When you’re finally ready to sow new life into your former lawn, Jenkins recommends doing so in late summer, early to mid August in Canada. Conventionally, people assume they should plant in the spring, but that requires daily watering for months. By late summer, though, watering might not be necessary at all – there’s often enough morning dew to keep seeds moist for germination. In other words, sow at a time that your seeds or seedlings will grow most naturally, instead of trying to force things. “My big philosophy is simple: I cannot improve nature,” Jenkins says. “I can only copy it.”
What lawn-removal methods have worked best for you? Let us know in the comments!
This article is part of a series on reimagining lawns as habitat as part of the David Suzuki Foundation's LawnShare program. LawnShare participants will receive simple guidance on how to take care of lawns with fewer impacts on local water, air and soil, and on how to transform these spaces into habitat that supports native plants and other wildlife while saving time and money.








Comments ()